How to Backup and Restore FreePBX (Asterisk) Configuration
Scope
Backing up and restoring configurations for FreePBX (Asterisk) systems.
It is assumed that this procedure is being used to "sync" configurations between a primary and secondary FreePBX server. It is also assumed that the primary server contains the most up-to-date configuration, and the secondary server is inactive.
Any information provided here regarding "Asterisk" or "FreePBX" servers refers only to Telos-commissioned FreePBX (Asterisk) servers used with Telos Alliance telephony products. While these are third-party servers and software, we are able to provide limited pointers and advice (like this article) under normal support.
The screenshots and menu structure described in this article reflect FreePBX 14. Earlier or later versions may not look identical, although the general concepts still apply.
Process
This procedure is completed in five steps:
- Log in to the FreePBX web UI (primary server)
- Set up or confirm backup job (primary server)
- Download the backup file (primary server)
- Restore the backup file (secondary server)
- Test the secondary server
These steps are detailed below.
1. Log in to the FreePBX web UI (primary server)
- Navigate to any IP address of your primary/active FreePBX server.
- Click FreePBX Administration
- Enter your username and password, then click Continue
2. Setting up or confirming a backup job (primary server)
If your system was comissioned by a Telos Alliance engineer, you will already have a backup job that runs weekly. This step shows you how to identify that backup job and run it.
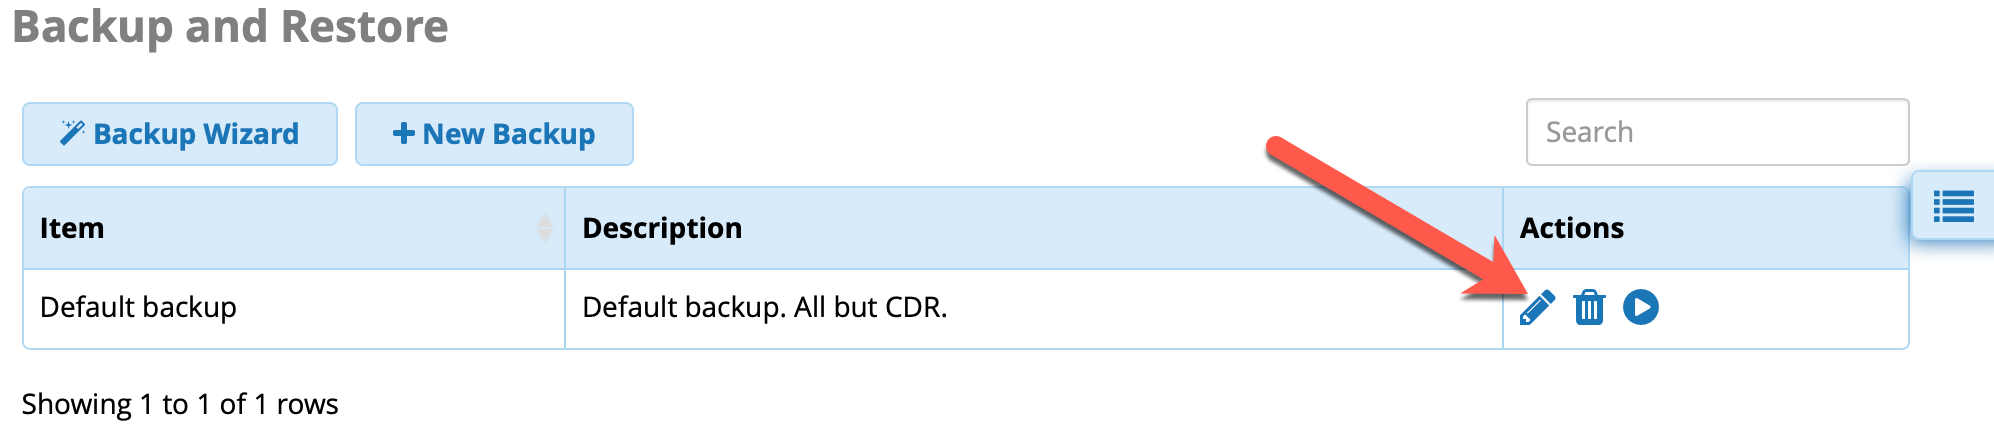
- Navigate to Admin > Backup & Restore.
- Click the edit icon on the "default backup."This may be named something different, such as "weekly backup" or "full backup." The following steps will help you identify the correct backup job to choose.
- The Items section should generally include the following items:
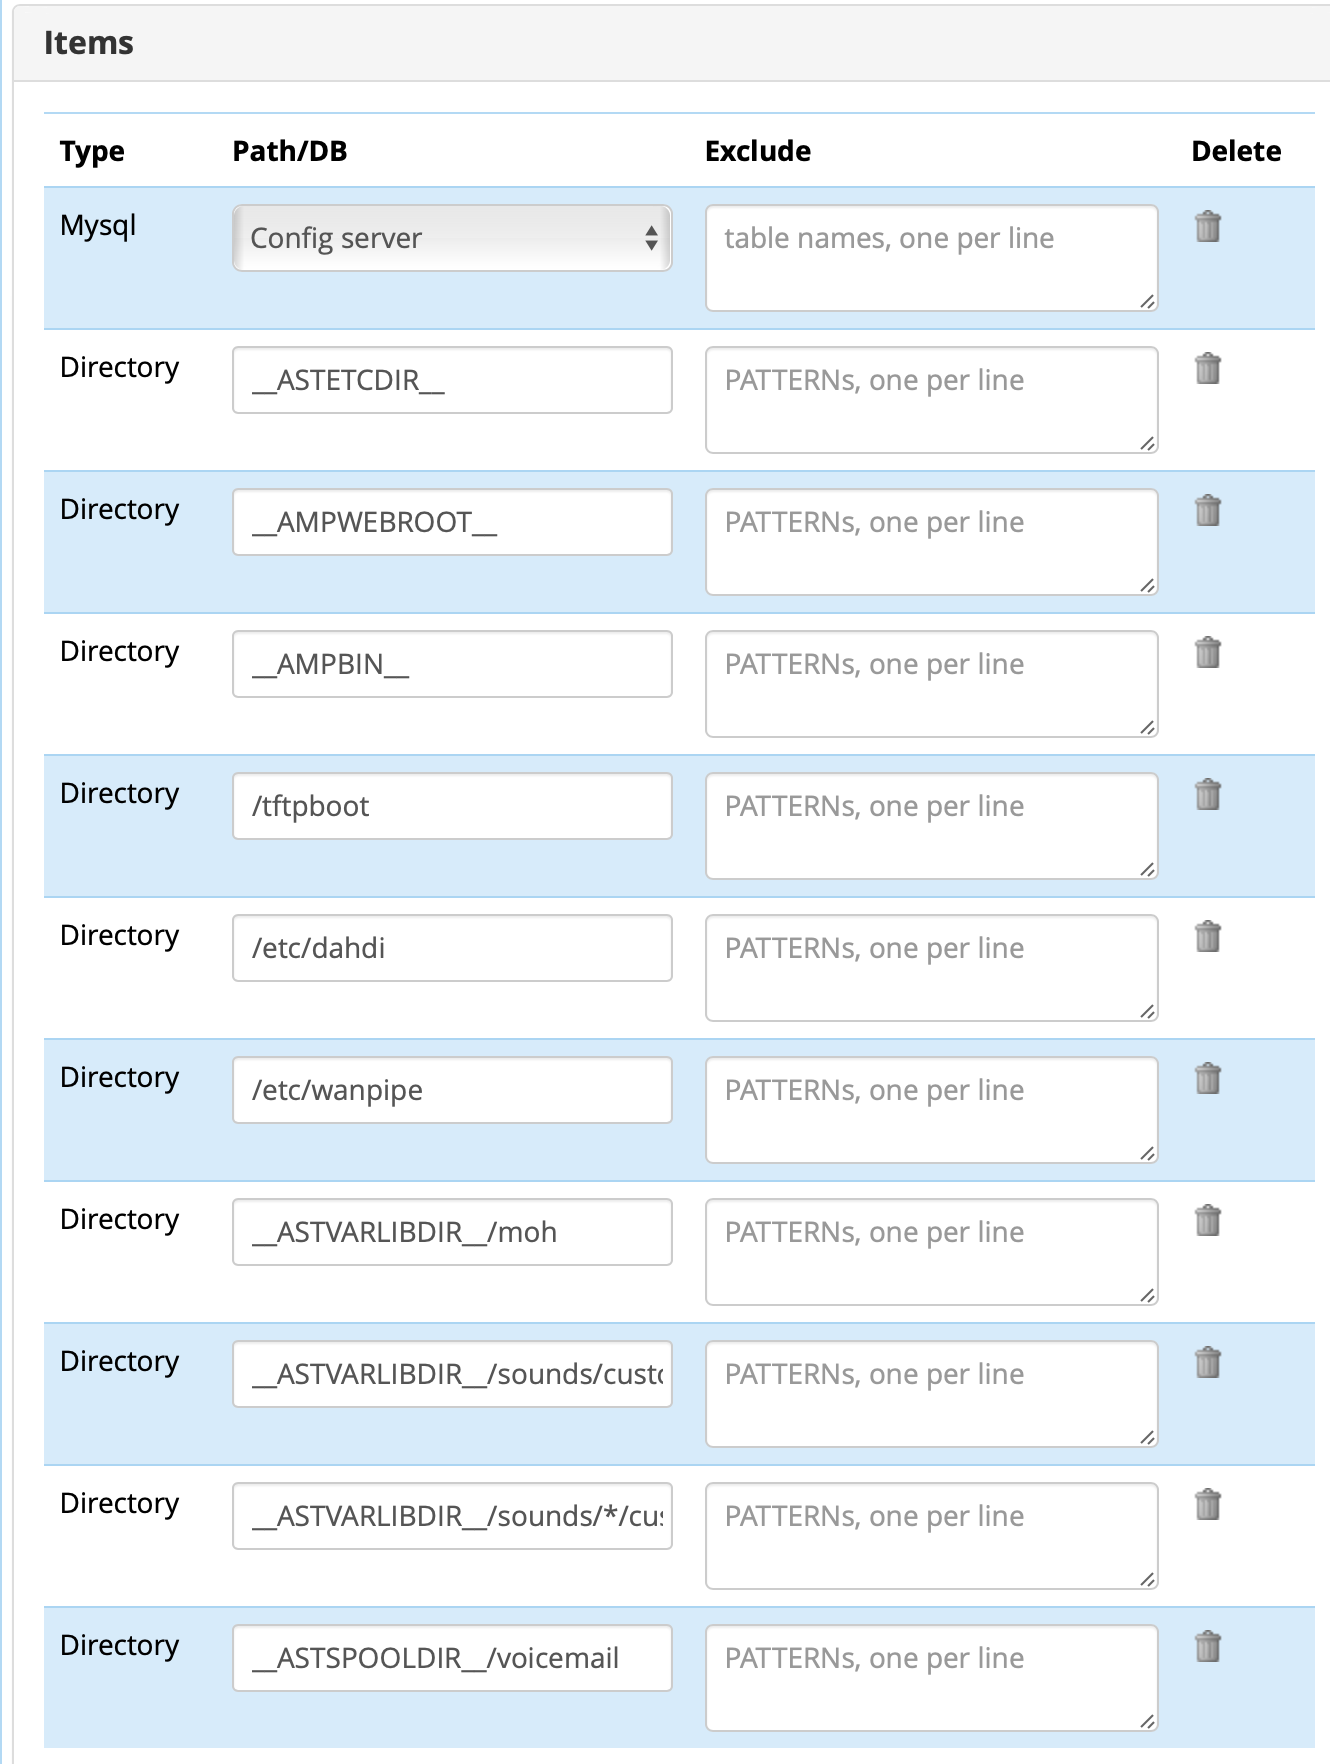 If the list of items seems too short to you, you may drag Full Backup and System Audio onto the items list, then delete CDR Server (unless you need Call Detail Records, they just take up a lot of space and slow the backup process down):
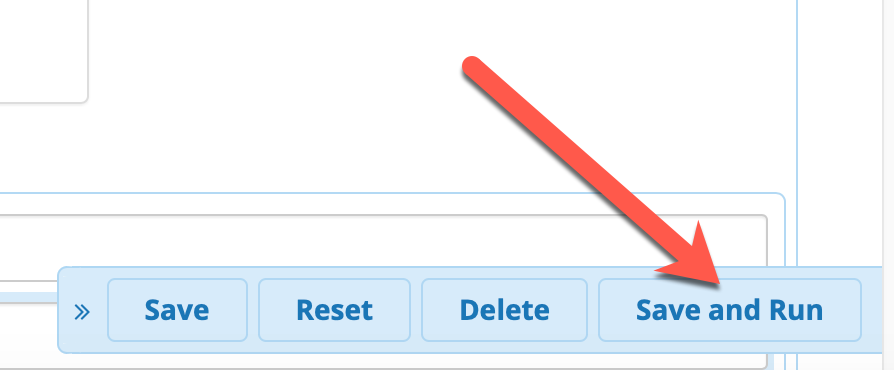
- Finally, click Save and Run. This will save any changes you may have made, and will run the backup job immediately.
- Once the backup job completes, you can close the pop-up.
 Sometimes FreePBX will display a warning during the backup process that tells you to run a particular command from the command line/terminal. Do not do this. This command will update certain parts of the system. The warning is generally benign and should be ignored.
3. Downloading the backup file (primary server)
Now that you have run your backup job, we can now download the resulting file.
- Return to Admin > Backup & Restore if not still there.
- Click the sidebar tab to open the sidebar, then click Restore.
- Click Browse, then select Local Storage.
Open the backup job you just ran (default backup in this example) and select the most recent backup run.
Click Download.
You have successfully downloaded your backup configuration file.
4. Restore the backup configuration file (secondary server)
- Navigate to any IP address of your secondary/inactive FreePBX server.
- Click FreePBX Administration
- Enter your username and password, then click Continue
- Navigate to Admin > Backup & Restore.
- Click the sidebar tab to open the sidebar, then click Restore.
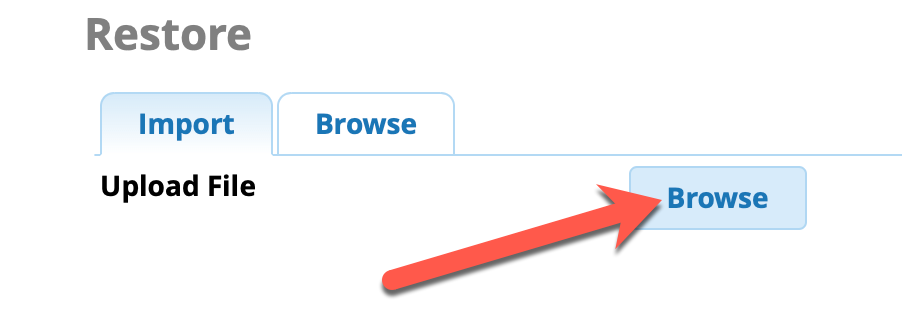
- Click Browse, then select the backup configuration file you previously downloaded from your primary server.
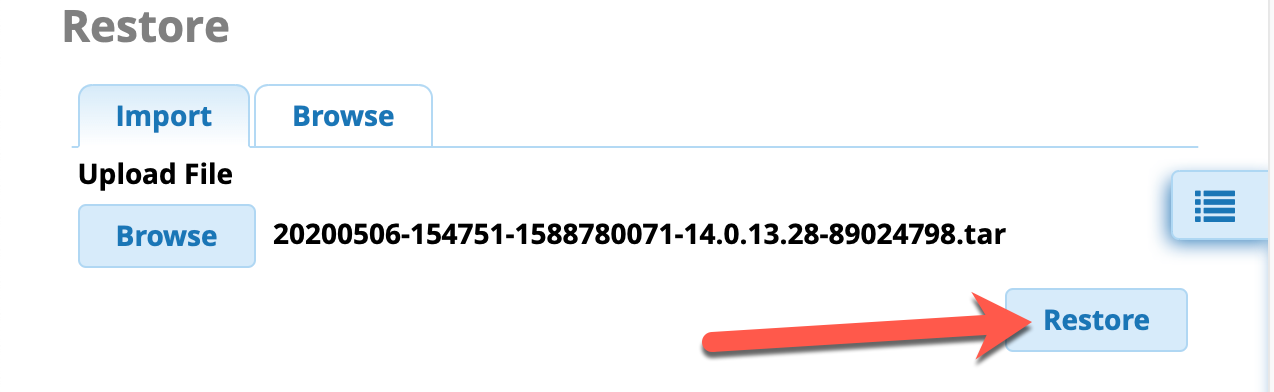
- Click Restore.
 Depending on the size of your backup configuration file, the system may take several minutes to process it. It is normal for the next web page to appear to "hang" or load slowly during this time.
 - Select the following items, then click Restore. This may take a few minutes to complete.
 This click restores the uploaded configuration. This procedure assumes the secondary server is currently inactive. If this secondary server is active, any calls in progress may be interrupted.
 - Once complete, reboot the secondary FreePBX server. This will generally take 5-7 minutes.
5. Test the secondary server
- Once rebooted, confirm the secondary server contains the changes included in the backup configuration file you restored by navigating through the FreePBX web UI.If you can no longer access the FreePBX web UI (after waiting 7 minutes for the reboot to complete), please use this document to restore access to the web UI. Remember that this does not mean any of your settings were lost. In fact, FreePBX/Asterisk continues to run and operate properly, even while the web UI is not accessible.
- During a maintainence period, switch to your secondary server (make your secondary server active), allow 1-2 minutes for VSets and other devices to reconnect, and test functionality.
Conclusion
Your FreePBX servers are now synced. This process should be repeated after any changes are made to the primary/active FreePBX system to ensure your systems are in sync.