Replacing a Monitor or Headphone rotary encoder on Fusion or Element
 Updated
by
Bryan Jones
Updated
by
Bryan Jones
SCOPE
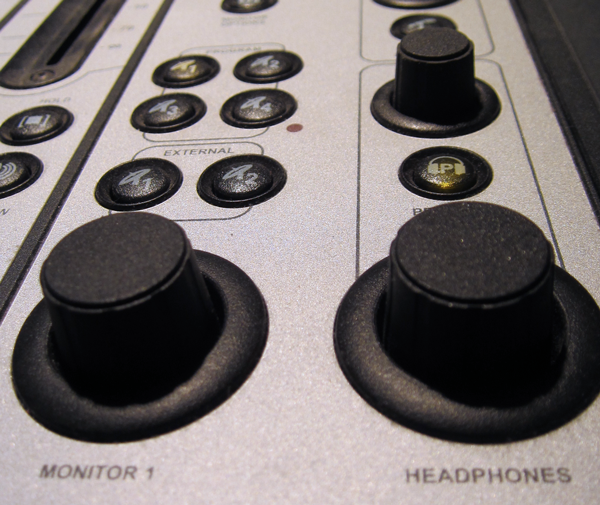
This applies to the Headphone and Control Room Monitor volume controls on both Element and Fusion consoles. The pictures shown here are from an Element console.
This encoder fairly simple to test and replace. Once the module is removed, it is possible to swap the encoder plugs for one another to see if any intermittent encoding issues move from one control to the other.
REMOVE THE MODULE
Use a 2.5mm Allen wrench to remove the screws holding the module in place. The bottom is slotted. Remove the module by lifting the top away from the frame. Use caution as there is a ribbon cable connecting the module to the overbridge.
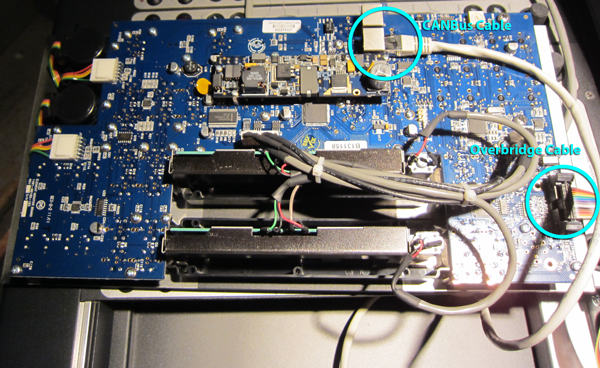
- The RJ45 CANbus connector can be unplugged while the console is running.
- The ribbon cable for the overbridge component has two side tabs that open to release the cable.
In this picture, the fader assembly is also visible on the model Monitor Navigation / Fader Module.
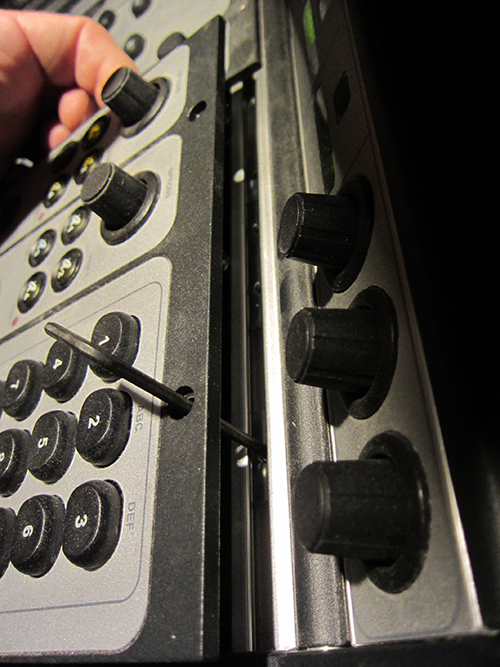
REMOVE THE ENCODER CAP

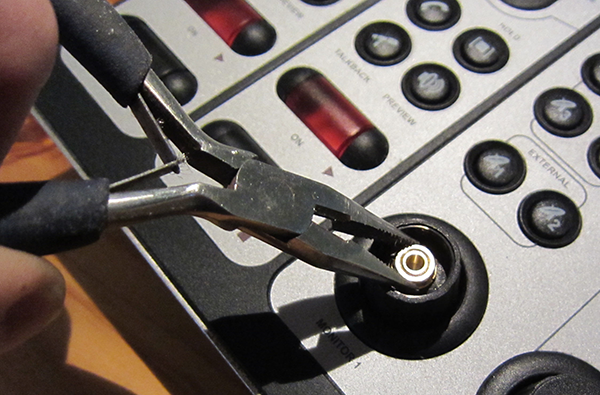
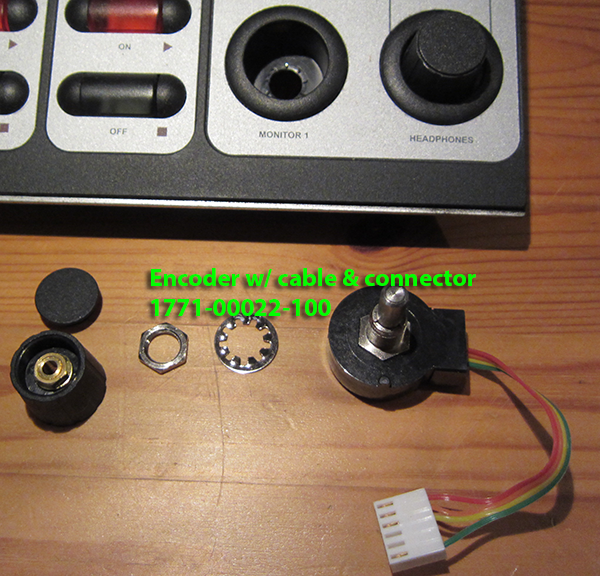
The encoder knob is two pieces, the cap and the knob. A tweaker or thumbnail should be sufficient to work the cap off.
While holding the knob collet, loosen the inner nut. This will unlock the pressure holding the knob to the encoder shaft. A ½” or 13mm socket should fit, or pliers can be used. The knob should not be more than hand-tight. Once loosened, the knob lifts straight up and off the shaft.
ENCODER REMOVAL
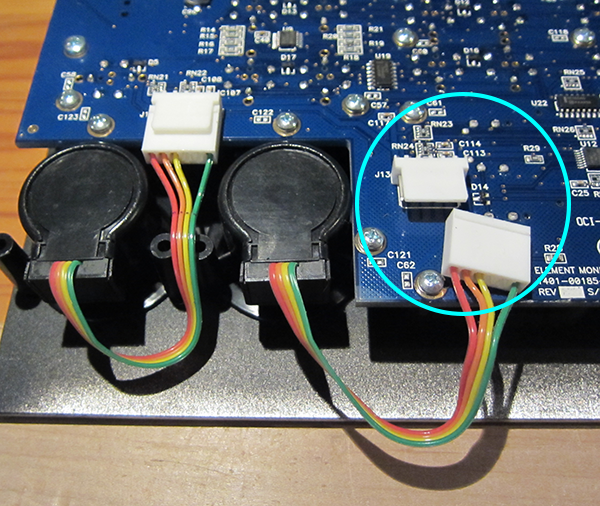
The encoder is held in place by its base nut around the shaft.
- Unplug the encoder from the board.
- Remove the shaft nut. This will free the encoder completely from the board.
The new encoder is installed in reverse order. Use care not to over-tighten the nuts. Not leverage tools should be needed. A deep-well socket using only hand tightening should be all that is needed to secure the new encoder in position.
REPLACING THE MODULE
The Element frame has slip nuts for screwing down the top of the module. Sometimes extra slip nuts are present for single module inserts. These nuts can remain inside the frame without issue. Use a hex wrench to line up the slip nuts.
PARTS REFERENCE
1212-00031-100 KNOB CAP BLK 21MM [SELCO C210 BLACK]
1212-00032-100 KNOB COLLET BLK 21.5MM 0.25-SHAFT
1212-00033-100 KNOB CAP BLK 15.5MM [SELCO C-150 BLACK]
1212-00034-100 KNOB COLLET BLK 15.5MxM 6MM-SHAFT [SELCO S150-006 BLACK]
1771-00022-100 ENCODER W/ 2.75 CABLE & CONN ADDED