Testing Procedure for Fusion SmartSwitch Modules
 Updated
by
Johnny Goldsmith
Updated
by
Johnny Goldsmith
Scope
This document goes over the testing procedure for the following Fusion modules:
- 2001-00335 - Fusion 10-Button SmartSwitch

- 2001-00336 - Fusion 5-Button SmartSwitch

The Procedure
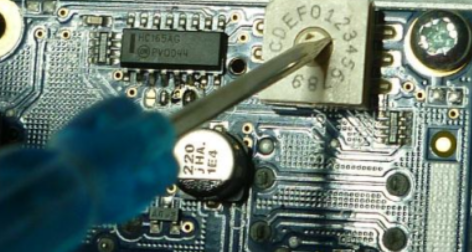
- In a non-static area, use a small flat head screwdriver to set the BCD Rotary Switch on the bottom side of the module to position F. Make note of the position the switch is in before changing.
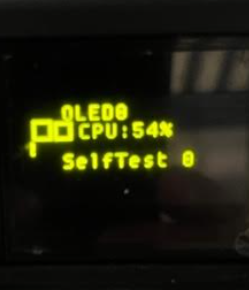
Power the module by using an RJ45network cable connected to a Fusion module. Once powered on, the module is in test mode and should indicate on the OLED display momentarily the version information. After one second, the OLED will switch to the test mode display.
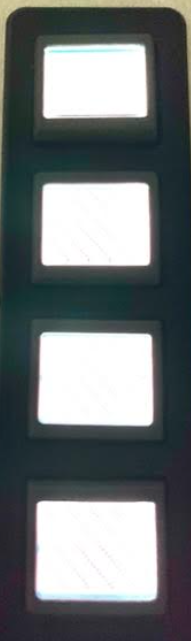
- The LCD button will first display diagonal lines across the displays.

- Begin the button test by pressing the top button, which is the nearest the ribbon cable. The OLED display will show Key#09 DN. The second from the top button will show Key#08 DN. The Key# will decrease as you go down the line.
- As you push the button, each button will illuminate.
- When the second from the bottom button is the only button pressed, the OLED should be completely dark.

- When the last two buttons are pressed, the OLED should be fully illuminated.

- Remove power from the module and return the BCD Rotary Switch to the original position it was in prior to testing.
Let us know how we can help
If you have further questions on this topic or have ideas about improving this document, please contact us.