Replacing Button Caps on an Hx1/Hx2
 Updated
by
Johnny Goldsmith
Updated
by
Johnny Goldsmith
Scope
We are sometimes asked if the process of replacing a broken button cap on an Hx1 or Hx2 digital hybrid can be done in the field. The short answer is "Yes", but the process isn't as easy as replacing caps on most other Telos Alliance products.
The front panel board needs to be removed from the unit in order to replace a switch cap on both the Hx1 and Hx2. In order to remove the FP board, the PSU also has to be removed.
If you would rather send the unit in for us to replace the caps, we can issue you an RA.
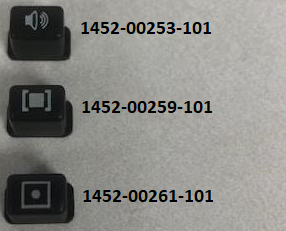
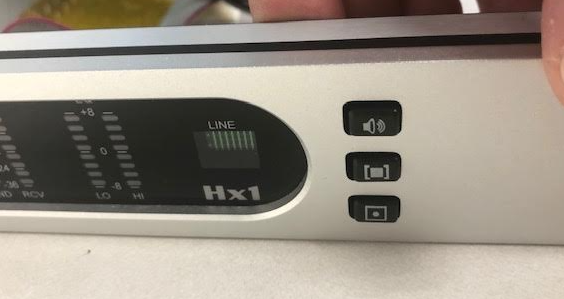
The Caps
If you need to replace any of the switch caps on your hybrid, contact Customer Support and ask for pricing and availability using the below part numbers.
The Process
To replace a broken cap, the front panel board of the hybrid needs to be removed from the hybrid.
Follow these steps:
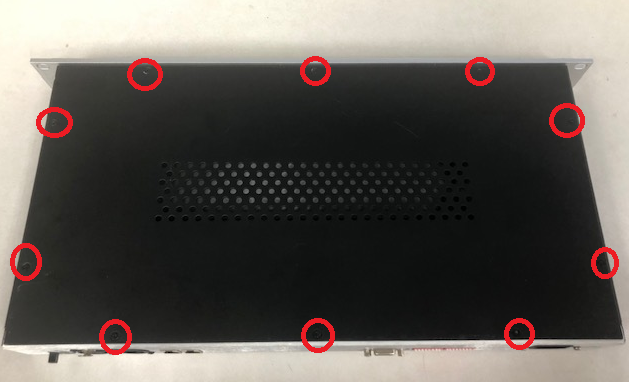
- Take off the top panel by removing the ten screws.
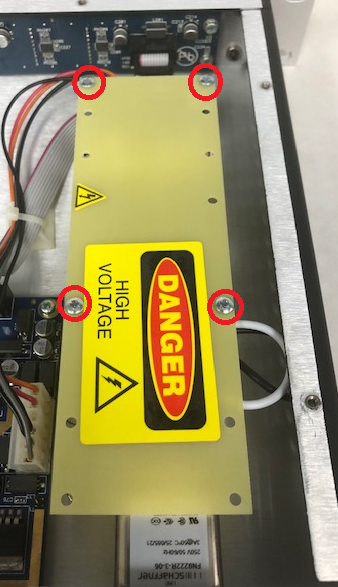
- Remove the cover of the PSU by unscrewing the four screws holding it to the PSU.
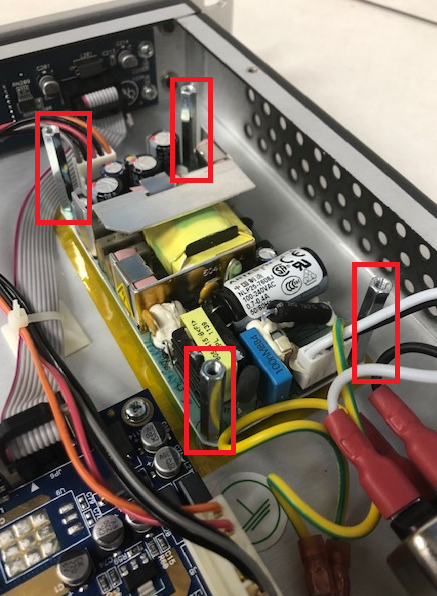
- Remove the four screw standoffs holding the PSU to the chassis. You can also disconnect the PSU from the mainboard.
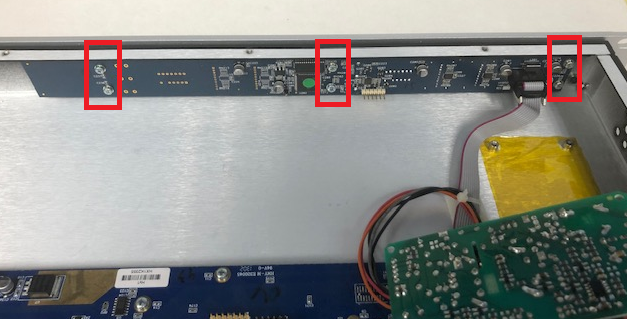
- With the PSU out of the way, you can unscrew the six screws holding the front panel board to the front of the unit.
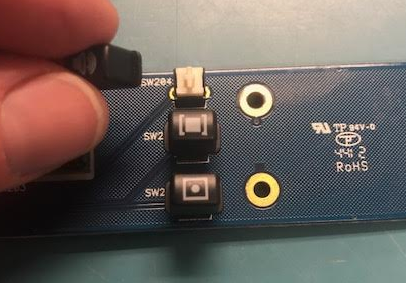
- Remove the front panel board from the chassis, which will allow you to change any caps that need replacing. Simply pull the broken cap from the switch. Install the new one by pressing the cap firmly onto the switch.
- After replacing the necessary caps, fit the front panel board back into the chassis and reassemble the hybrid going in reverse order from above.
Let us know how we can help
If you have further questions on this topic or have ideas about improving this document, please contact us.