Studio Engine BIOS for Intel D865GLC
 Updated
by
Bryan Jones
Updated
by
Bryan Jones
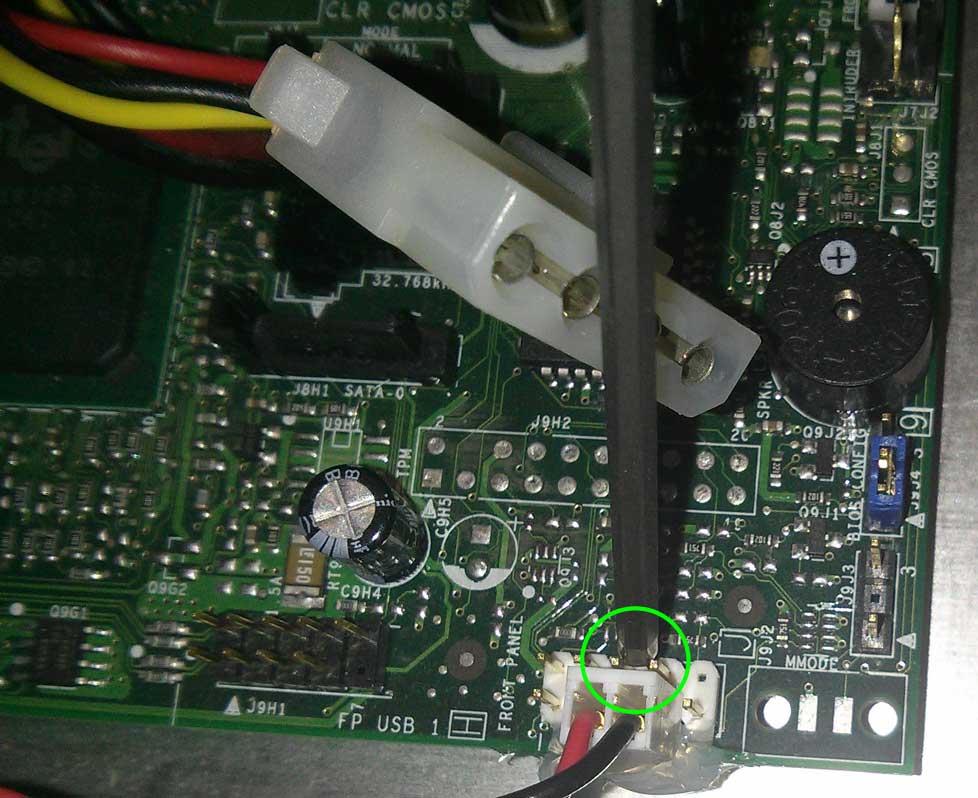
The BIOS battery needs to be replaced, and the BIOS needs to be re-programmed. This involves removing the unit’s lid and plugging in a keyboard and monitor direct to the motherboard.
Once the lid is off, the CR2032 battery can be replaced.
Power
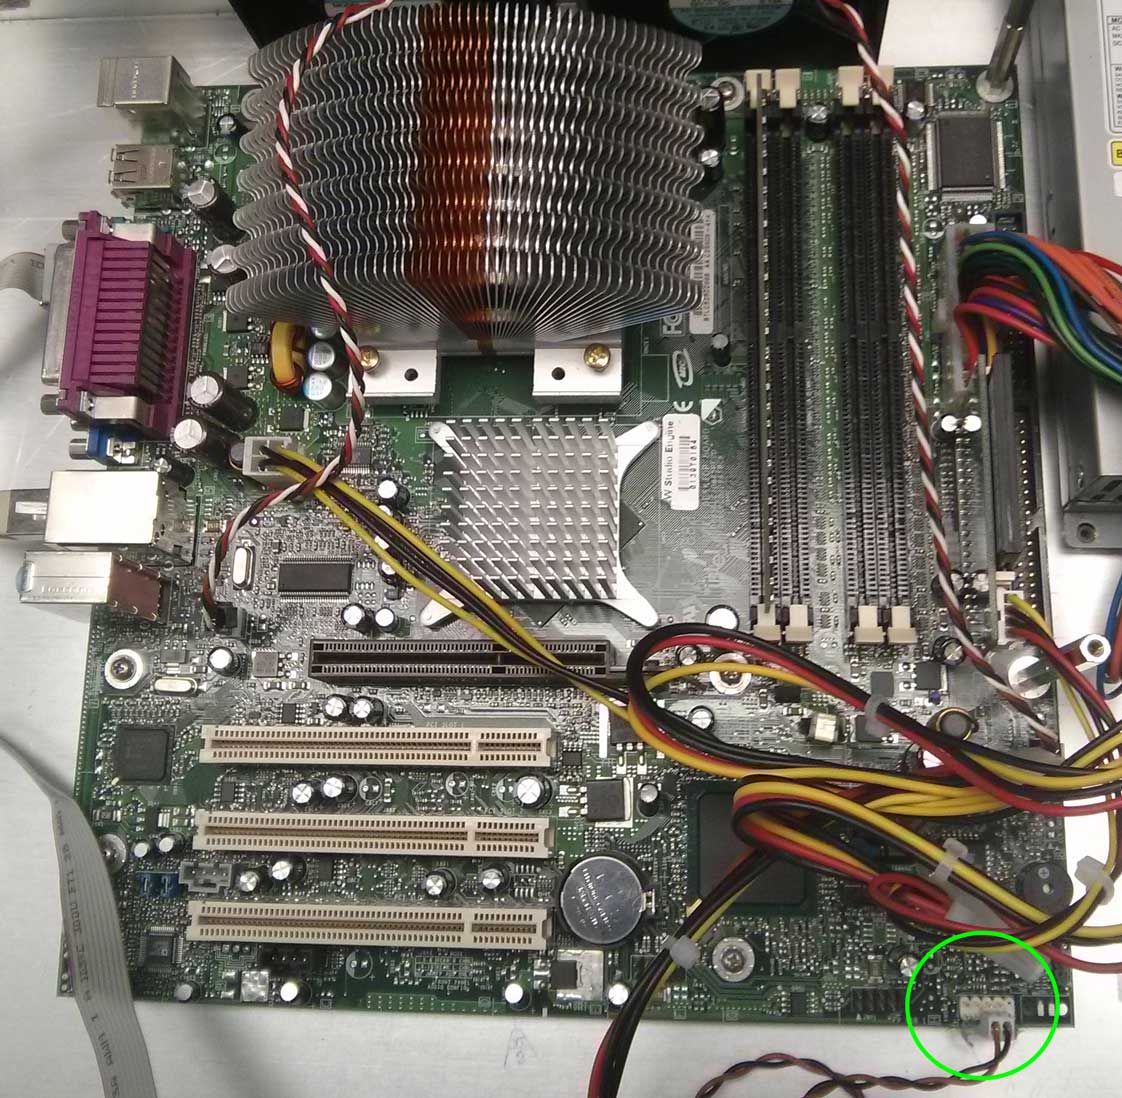
Front Panel header is on the bottom-right.
BIOS Settings
Main:
- System Time [hh:mm:ss]
- System Date [mm/dd/yy]
Advanced:
- Peripheral Configuration
- Serial Port A [Auto]
- Parallel Port [Auto]
- Mode [Bi-directional]
- Audio [Disabled]
- Onboard LAN [Enabled]
- ASF Support [Enabled] [Enabled]
- Drive Configuration
- [PATA
- Primary Master : Sandisk SDCFB-256]
- Type [User]
- DMA Mode [Auto]
- USB Configuration
- USB Function [Disabled]
Power:
- After Power Failure [Power On]
Boot:
- Silent Boot [Disabled]
- Intel Rapid Boot [Enabled]
- PXE Boot to LAN [Disabled]
- USB Boot [Disabled]
- Boot Device Priority [Disabled]
- 1st Boot Device [3m – Sandisk SDCFB-256]
- 2nd Boot Device [Disabled]
“Exit Saving Changes” or Press “F10” to save the changes and exit BIOS.
Detection and Prevention
It is safe to hot-swap the CR2032 battery by lifting the lid and replacing while the unit is powered. This precludes the need to plug in a keyboard and monitor and reset BIOS configurations.
The CR2032 battery should be good for 3-5 years, so periodic maintenance every 2-3 years should suffice for routine maintenance. Schedule a unit shutdown test to verify as a part of the periodic maintenance regiment.