Connecting an Expansion frame to an iQx Console
 Updated
by
Johnny Goldsmith
Updated
by
Johnny Goldsmith
Scope
This document explains how to physically attach an expansion frame or frames to an iQx console.
The expansion frames that can be added to a mainframe are:
- 2001-00283-000 iQ 8-Fader Expansion Frame
- 2001-00284-000 iQ 6-Fader Telco Expansion Frame
- 2001-00285-000 iQ 6-Fader Expansion Frame + User Buttons
Once the expansion consoles are physically connected to the mainframe iQx, you will need to configure the consoles in order for the channel numbers to appear in the order your setup requires. Click here for that process.
The Process
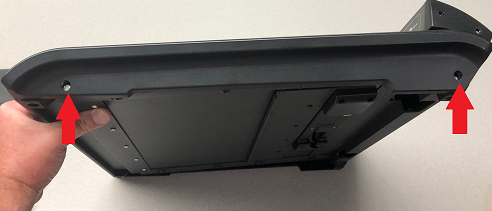
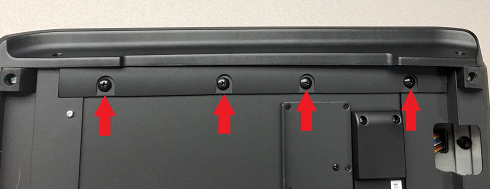
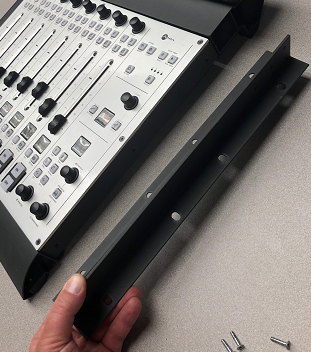
- To begin, detach the side console bumpers from the sides of the frames you wish to join by removing six screws, two on the side and four on the bottom.
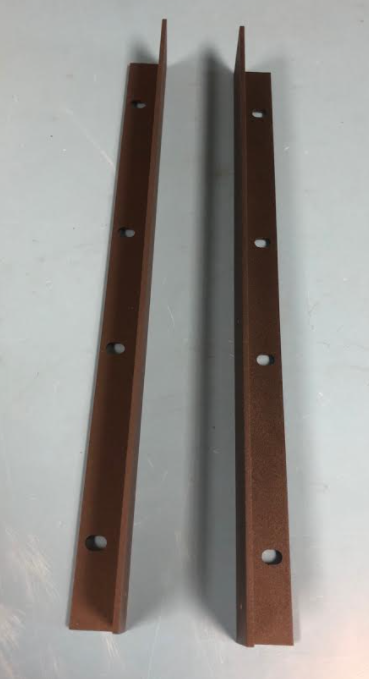
- Once the bumpers are detached, remove the rack-mount flanges from the bumpers by unscrewing the three screws holding each to the inside of the bumpers.
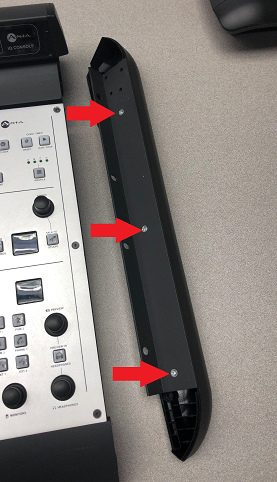
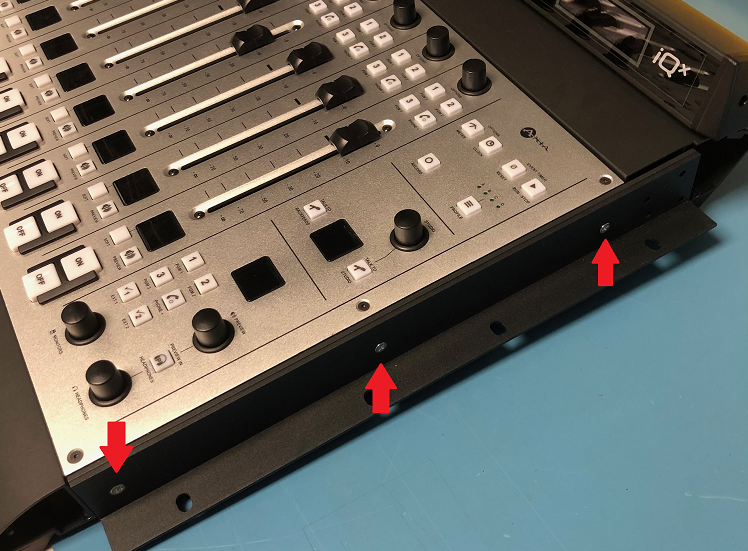
- Take both of the removed rack-mount flanges and attach them to one of the frames as shown in the second and third photos below, using three of the screws originally holding one of the flanges to the bumper.
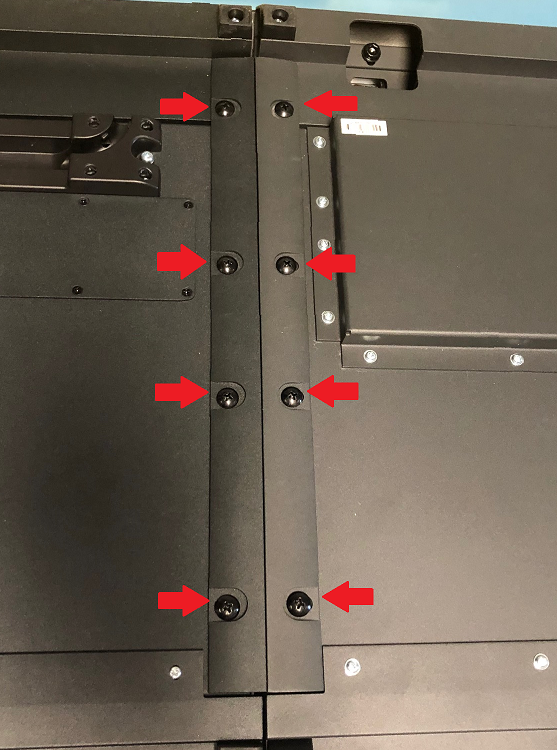
- Carefully flip the frames over and use the eight rack-mount screws to securely attach the flanges to the underside of the frames.
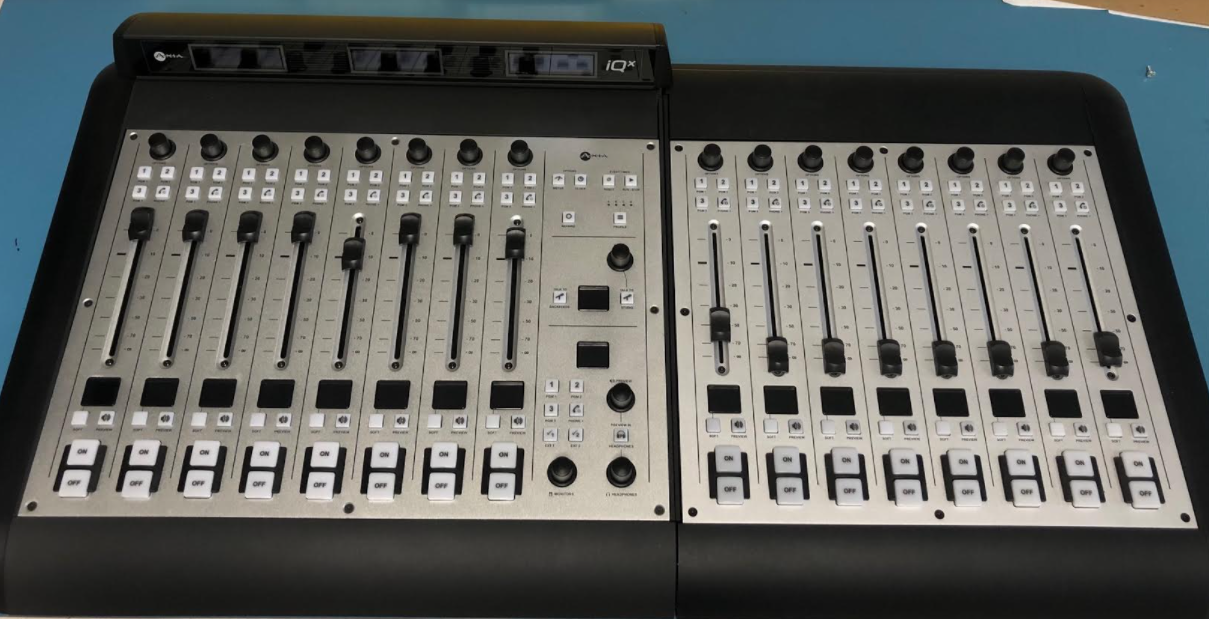
- Carefully flip the attached frames back over and power on the iQx mainframe.
Let us know how we can help
If you have further questions on this topic or have ideas about improving this document, please contact us.