Changing Element or Fusion On/Off Switches
 Updated
by
Johnny Goldsmith
Updated
by
Johnny Goldsmith
Scope
This document details the process of removing and replacing an On Switch (Part number 1211-00040) and an Off Switch (Part number 1211-00039) on Element and Fusion modules.
The Module
Remove the two 2.5mm Allen screws at the top of the module and remove the module from your console.
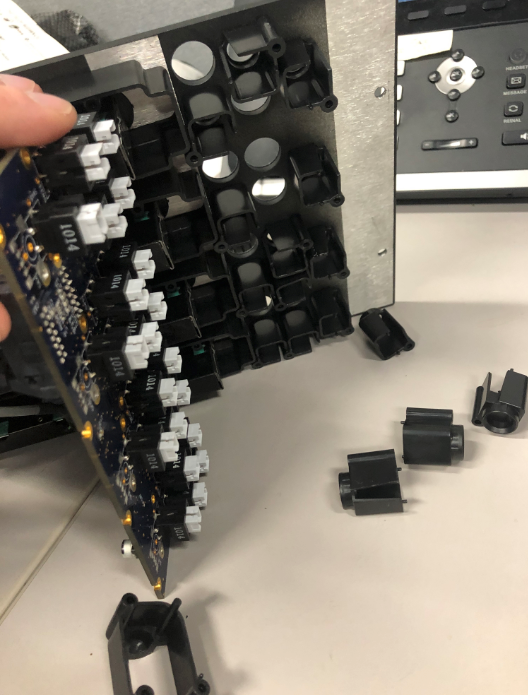
When disassembling the module, be careful as the plastic button bezels will fall out. Be careful not to lose them.
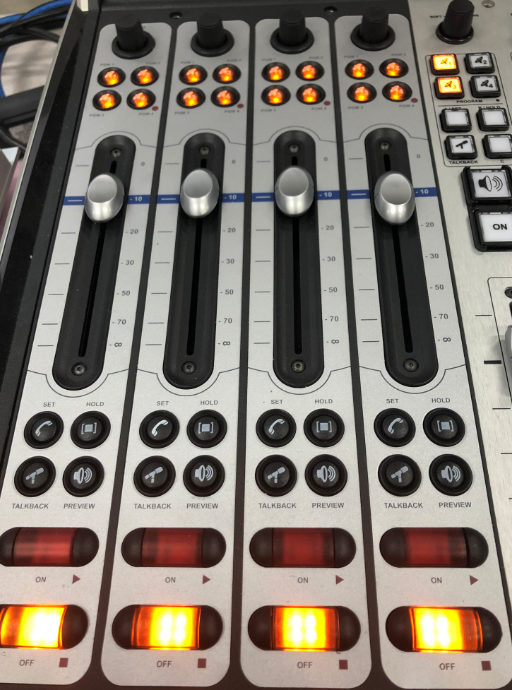
These are the On and Off switches on a four-channel board:

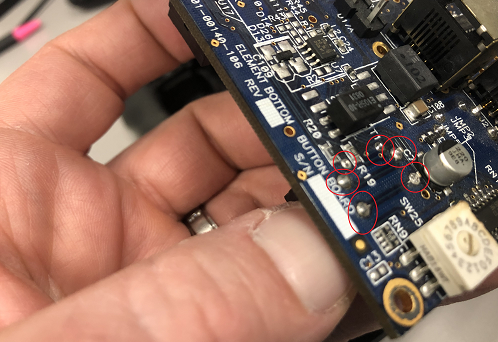
On the underside of the board, you can see that each switch has six legs which need to be desoldered from the board:
Once the old switches are removed, you just need to do the same in the reverse process.
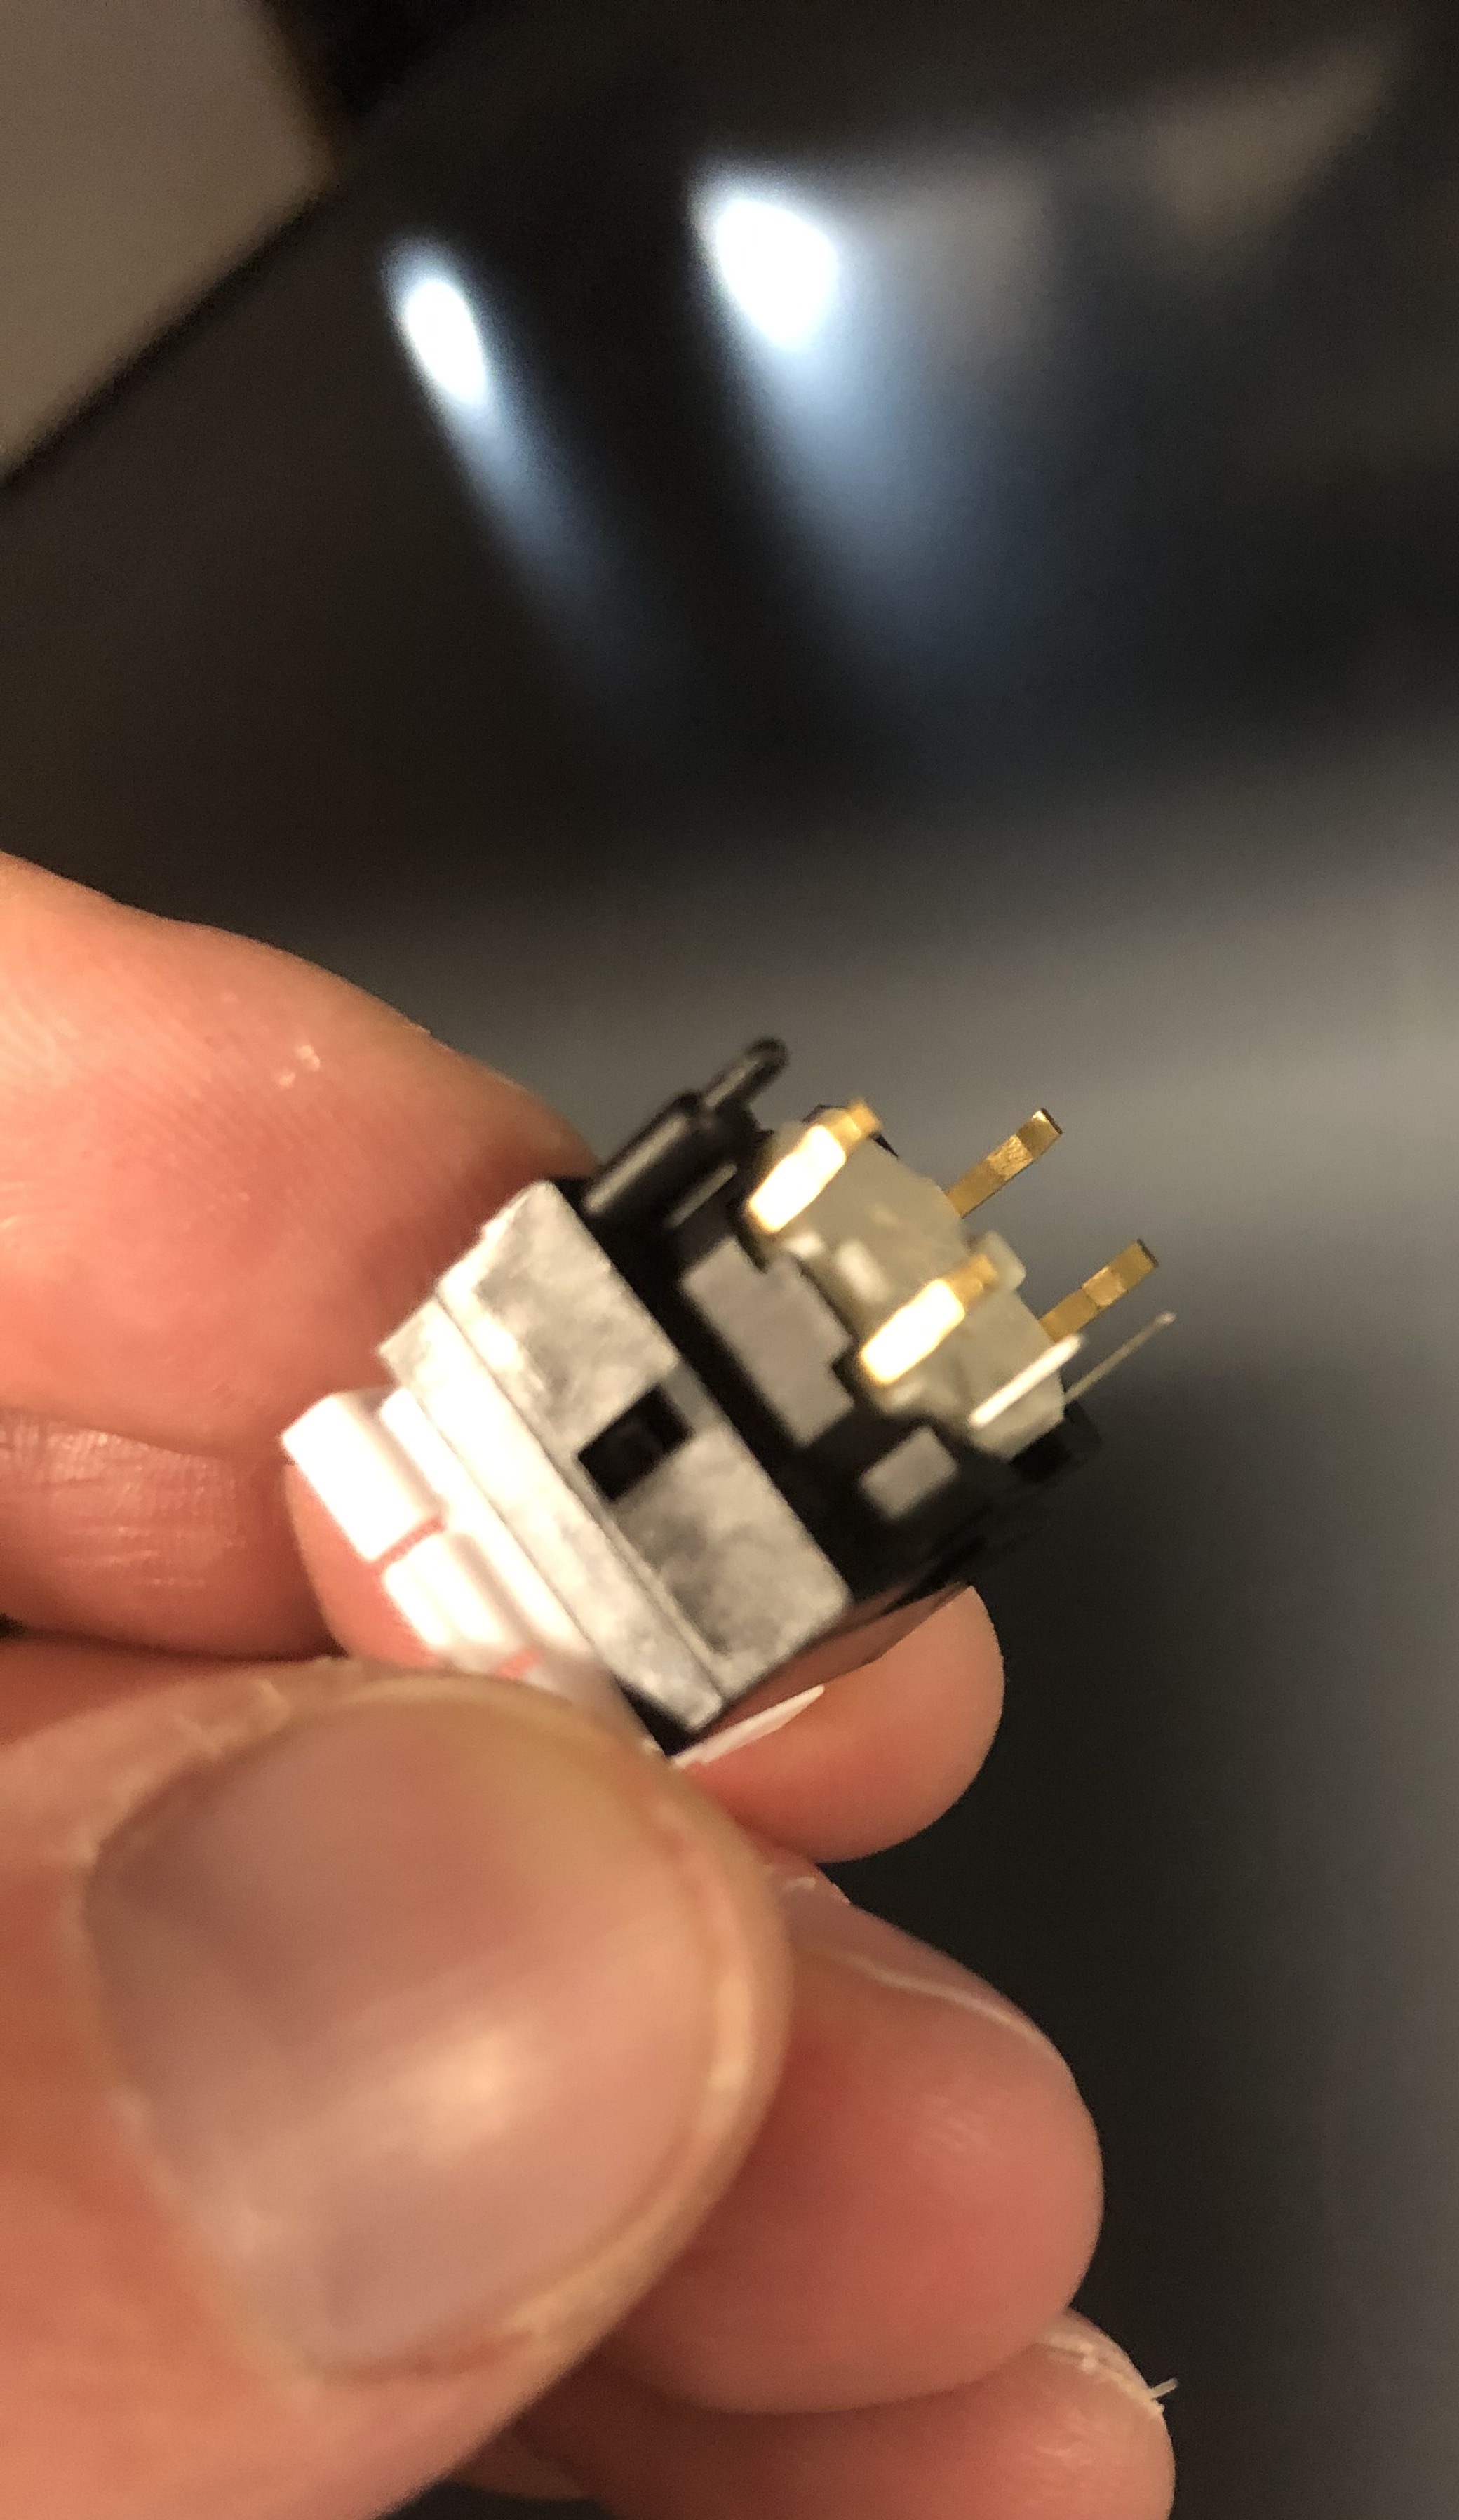
The switches look exactly the same. The only difference is the color of the LED inside:
Let us know how we can help
If you have further questions on this topic or have ideas about how we can improve this document, please contact us.