Adding the Loopback Adapter to Windows networking
 Updated
by
Bryan Jones
Updated
by
Bryan Jones
Scope
Sometimes it may be desirable to have a network card installed on your Windows computer that is only used for loopback purposes. We will cover the steps to add the Windows loopback adapter in this document.
Installing the Windows networking loopback adapter
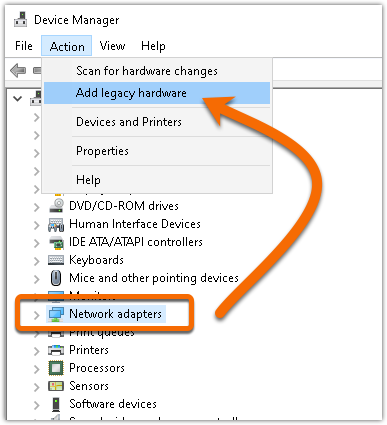
- In Windows, open Device Manager. Click on the Network Adapters group, then select Add legacy hardware from the Action menu
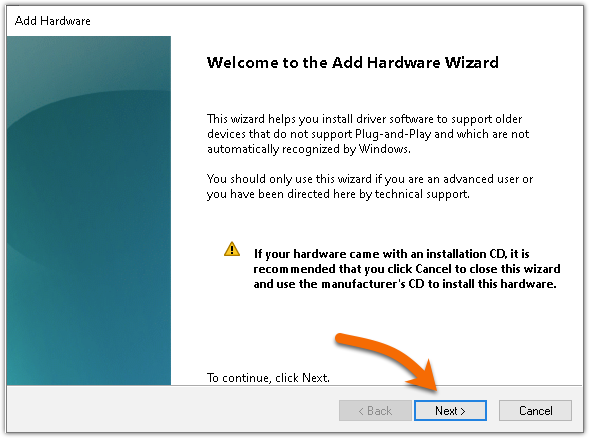
- Click Next on the Welcome to the Add Hardware Wizard
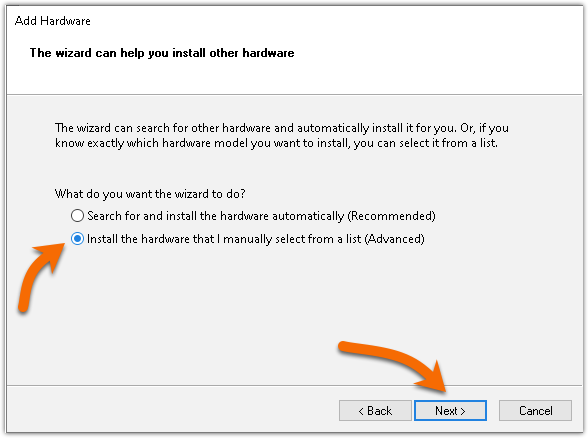
- On the box that asks, "What do you want the wizard to do?", select Install the hardware that I manually select from a list (Advanced) and then click Next
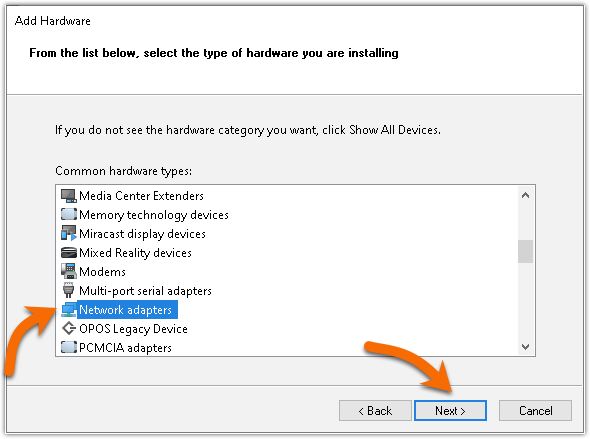
- Scroll down and select Network Adapters from the Common hardware types: and click Next
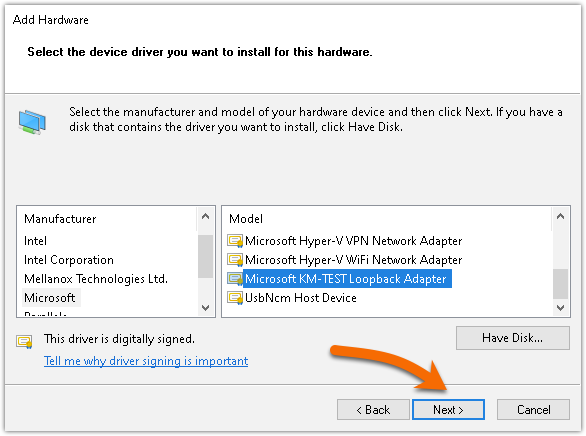
- From the device driver selection window, select Microsoft from the Manufacturer list and select Microsft KM-TEST Loopback Adapter from the Model list and click Next
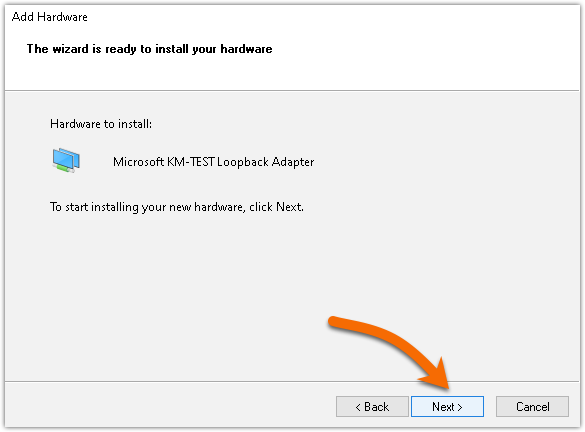
- Click Next to begin the installation
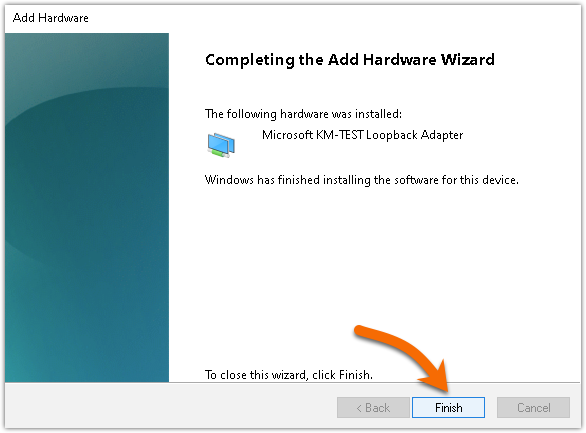
- Click Finish to complete the installation
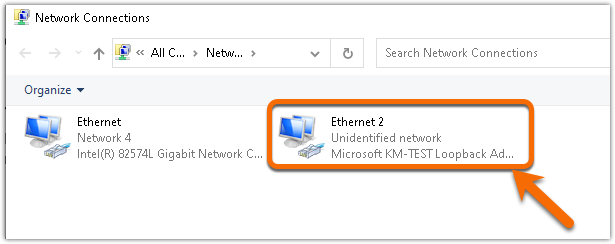
Confirm the addition of this network adapter using the Change Adapter Options in Windows. The Network Connections window shows all network adapters installed on your system.
Usage Examples
One use for this loopback adapter is using the Axia IP-Audio Driver as an audio card loopback. This is useful for streaming or when you do not need (or want) audio packets on other netoworks. In this example, pick the Microsoft KM-TEST Loopback Adapter from the Livewire Network Card selector.

Let us know how we can help
If you have further questions on this topic or have ideas about improving this document, please contact us.