FreePBX - How To Create and Route an Extension

Scope
This article shows you how to create an extension in FreePBX.
Pre-requisites
We'll assume a few things for this guide:
- You understand what an extension is in FreePBX
- You have access to FreePBX via a web browser (this is how we will interface with the FreePBX software)
- You have a properly configured Trunk on FreePBX (not really important in this guide, but it will be important for testing later)
- You know the phone number (DID) that you want to route to this particular extension
Let's create an extension
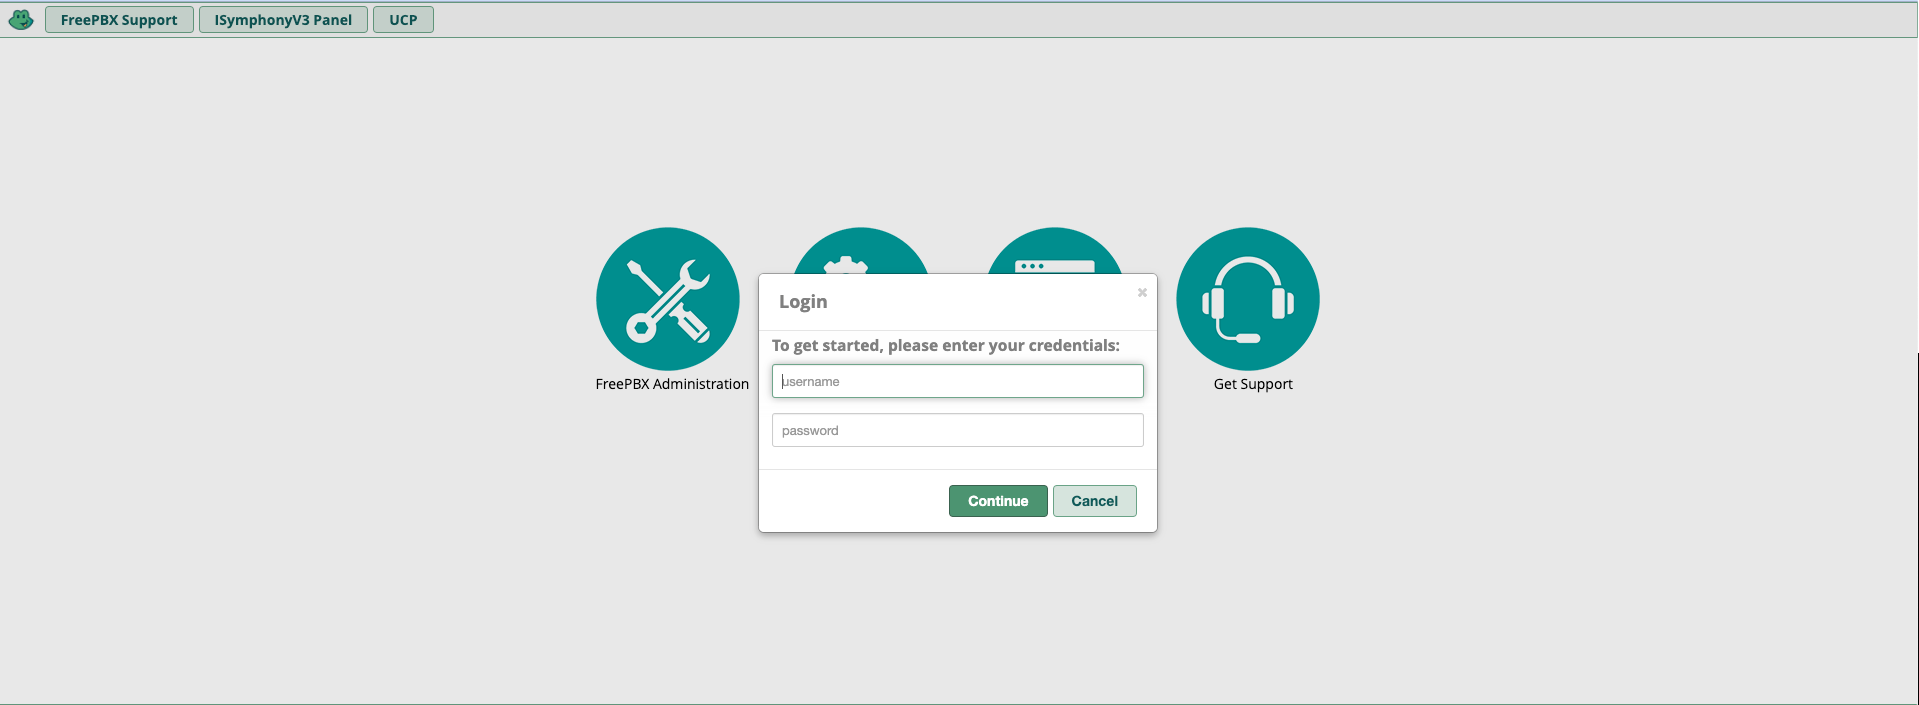
- First, log in to your FreePBX via the web management interface
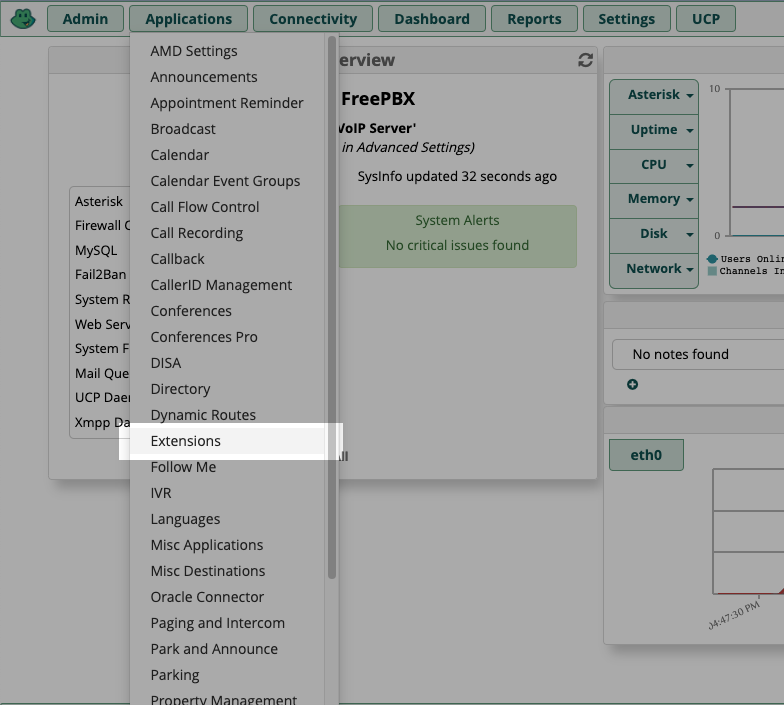
- Next, navigate over to Applications and select "Extensions"
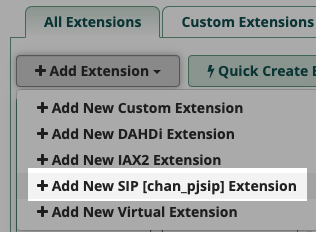
- Once you are on the Extensions configuration page, click "Add Extension" and select "Add New SIP [chan_pjsip] Extension
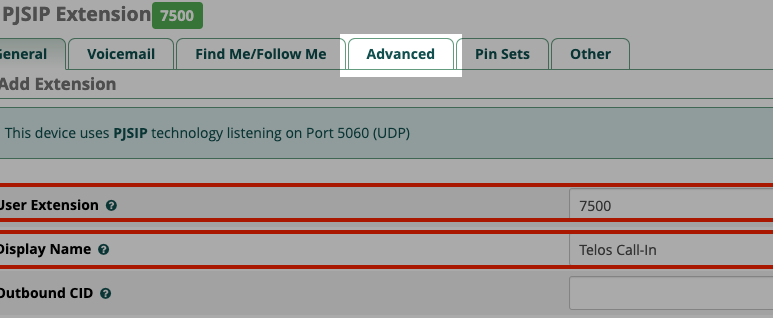
- On the PJSIP Extension page, you'll define the extension number in the "User Extension" field. Be sure to give this a friendly name in the "Display Name" field, and a password in the "Secret" field. Stay on this page for the next part.
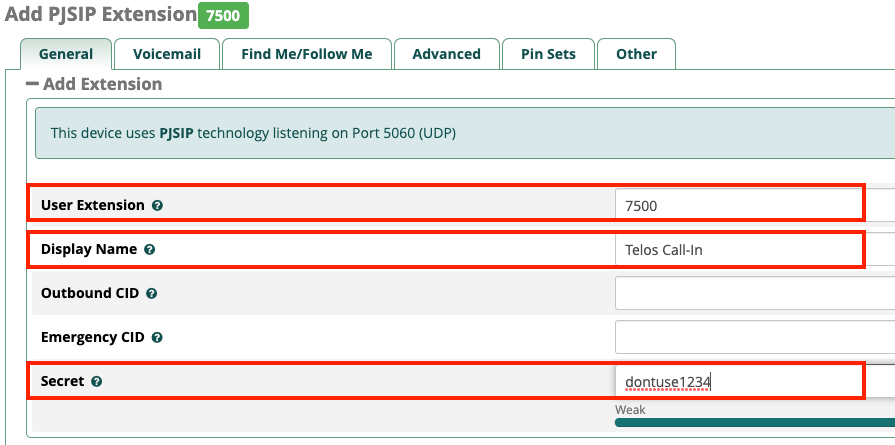 Don't click Submit yet! We'll add our routing information here next
Route the extension
- Now that we've defined the extension number and password, we'll need to associate it with an actual phone number. We call this phone number a DID (direct inward dial). To do this, stay on the PJSIP Extension page and click the "Advanced" tab on the top
- Here is where we define an inbound route by typing in the phone number that we want to route to our extension. We'll give this a friendly name "Telos Call-In," and we'll type in our phone number in the "Add Inbound DID" field
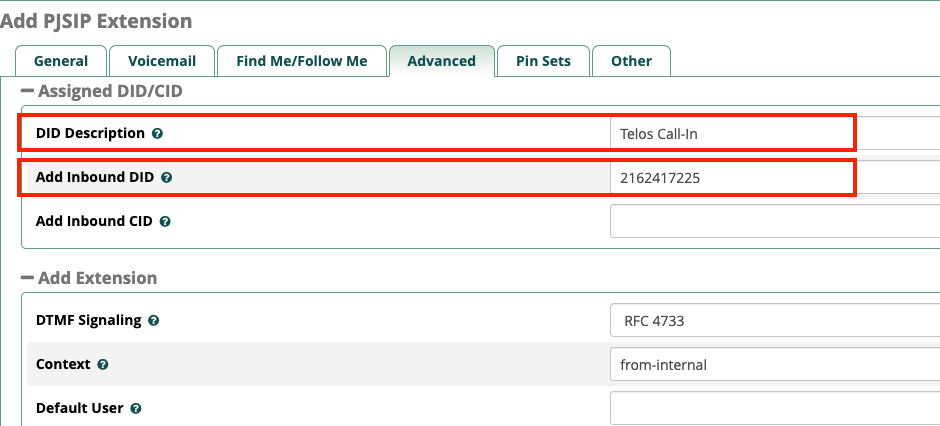 Do NOT put your phone number in the "Add Inbound CID" field. Doing this means only calls FROM certain numbers will route to this extension, which would severely limit the number of calls we could receive.
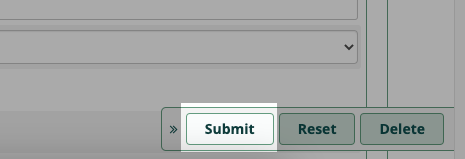
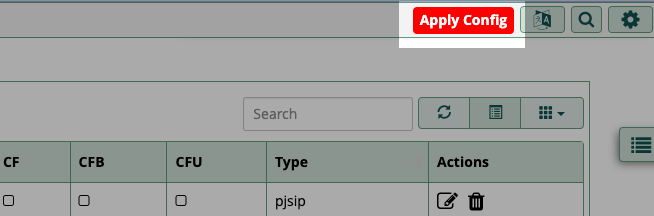
 - Now that we've defined our extension and created an inbound route, the last thing to do is click Submit our new extension (at the bottom-right of the page) and Apply Config (at the top-right of the page - be sure to do it in that order)
Test the extension
After creating your new extension, be sure to enter the information in your Telos VX and ensure that it is properly registering to FreePBX. If it is not, then double-check the IP address of the FreePBX server, the extension number, and the secret/password itself.
Finally, after the VX has successfully registered the extension, make several test phone calls to ensure you are able to both make and receive calls (at the phone number you specified).
Let us know how we can help
If you have further questions on this topic or have ideas about improving this document, please contact us.