How to create a Logic Flow
 Updated
by
Tim Chimes
Updated
by
Tim Chimes
Scope
Pathfinder Core PRO’s event system is called Logic Flows, and it enables information visualization so that you can see how things work within your system.
Creating a new View
Once you are in the Logic Flows page, it is recommend that you create a new View before creating your Logic Flow. The Views allow you to organize your Logic Flows into different groups.
Click on the LogicFlows check box to select it, and then click on the green "plus" icon to create a new view:

Once created, uncheck the LogicFlows box, and check the box for the New View that you created. It is now time to create our Logic Flow
Creating your Logic Flow
For this example, we will create a simple audio route change when a GPIO button is pressed.
Click on the larger green "plus" sign on the top of the screen to give us our Logic Flow template:
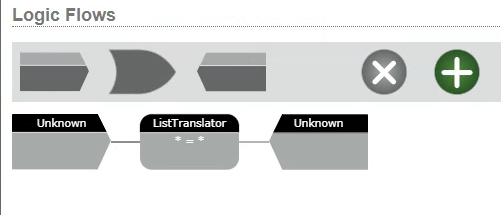
A Logic Flow typically consists of three parts: the start point, the translator, and the end point (moving from left to right). We will start with the start point (highlighted in orange).
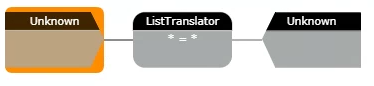
Double-click on the start point to bring up the Property Selector:
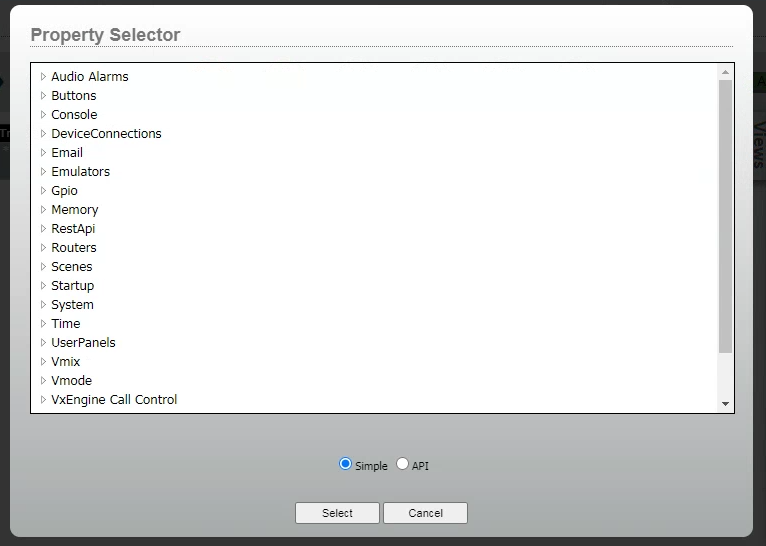
We are going to find a GPIO button, so we will navigate to GPIO, and find the GPIO device. Once you click on it, you will see a list of GPI and GPO ports:
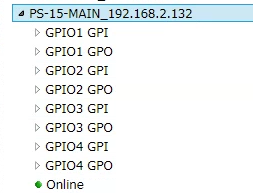
For example, we will select GPIO1 GPI, because we will be monitoring for a physical input closure from a button press. When you select GPIO1 GPI, you will see the following tree:
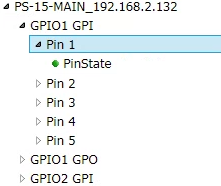
Select Pin 1, and then double-click on PinState (you should see a green circle next to this). This selects the Pin state of Pin 1 of GPIO Port 1.
Next, we will configure the end point (we'll come back to the translator at the end).
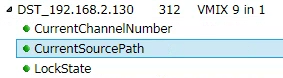
We will do the same that we just did for the start point, except this time we will find an audio into (a destination on your Livewire network). For me, I navigated to Routers > Axia Audio > My chosen destination. This time, we want to select the CurrentSourcePath property:
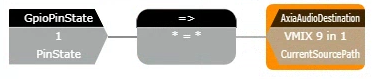
After double-clicking on the CurrentSourcePath property, you should now see something like this:
It is now time to configure the Translator.
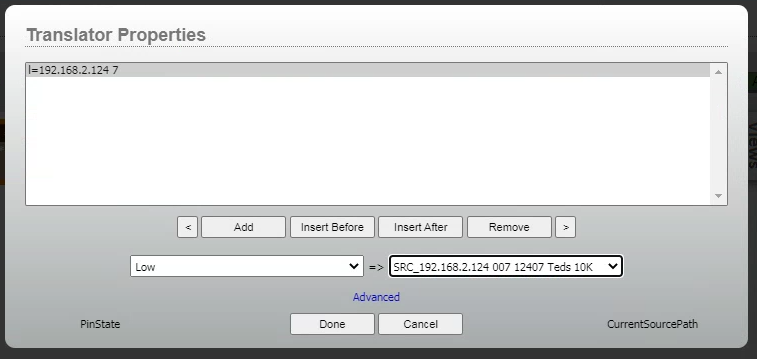
Double-click on the translator:
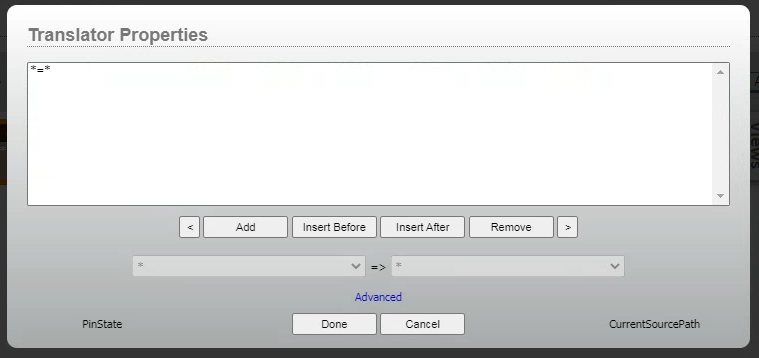
Click on the *=* at the top, and the drop-down menus should become availble. This is where we configure what happens with that GPI closure. Here, we will configure it so that if the closure goes Low, then we change our route:
But what if we want the destination to go back to the previous source when the closure goes back to a High state? All you need to do is click on the Add button, and then repeate the process we just did, but set the drop-downs to High and Previous:
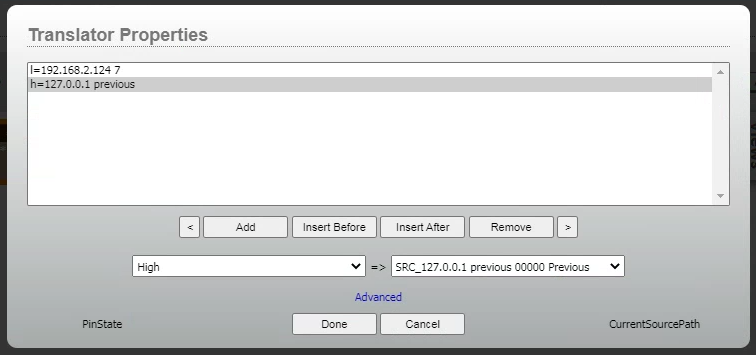
Click Done. Once you are back to the main Logic Flow page, you will see that the Apply button is flashing green. This means that changes not been saved until we click that button. So click on the Apply button to save your changes (you will also see the color of your Logic Flow change from Grey to Blue).

Your Logic Flow is now ready to use!
For more information about Logic Flows, see the section about Logic Flows in the Pathfinder Core Pro manual, found here.
Let us know how we can help
If you have further questions on this topic or have ideas about improving this document, please contact us.