I stream with Triton, how do I add my stations to the Z/IPStream R/2?
 Updated
by
Bryan Jones
Updated
by
Bryan Jones
Scope
These are the steps needed to add stations to your Z/IPStream R2. These steps only apply to the Z/IPStream R2, and only apply when using the integrated Triton streaming encoder. If you are using a Z/IPStream R/1 (formerly ProStream), or any of our Z/IPStream Windows software, this document does not apply.
Introduction
For this configuration, we are making the underlying assumption that the basic setup tasks are complete. We will not cover setting IP Addresses, DNS, etc. in this document. Please refer to the Quick Setup Guide included with your unit for these steps.
The two main prerequisites for this are that you have correctly functioning DNS and that you have your station credentials (usually a station name and password) from Triton. If you do not have your station credentials, stop now and contact Triton for that information. You can not complete the setup without this.
Test your DNS by;
- From the WebUI of your Z/IPStream R2, click Options
- Click Network
- Click Ping/Traceroute
- Enter google.com (or another ping-able host) in the Host: box
- Click Run
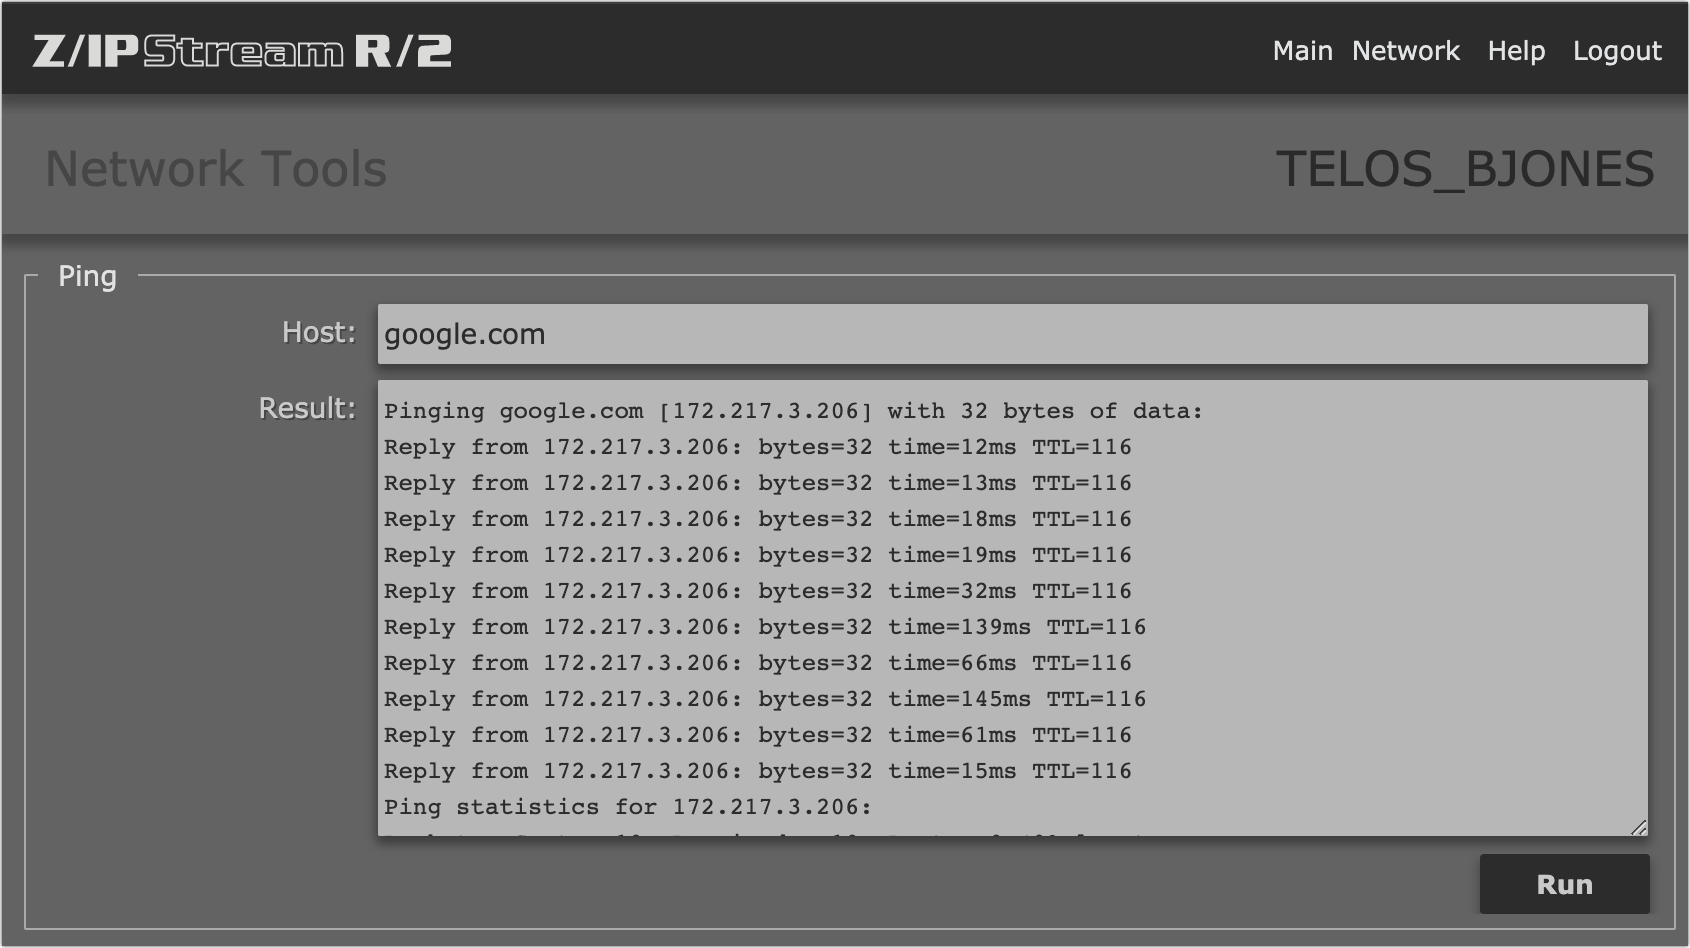
If you receive a Reply and not a Timeout, your DNS is working.
Adding your Station
- From the Main menu the WebUI of your Z/IPStream R2, click Audio Sources
- Click Triton Digital Services
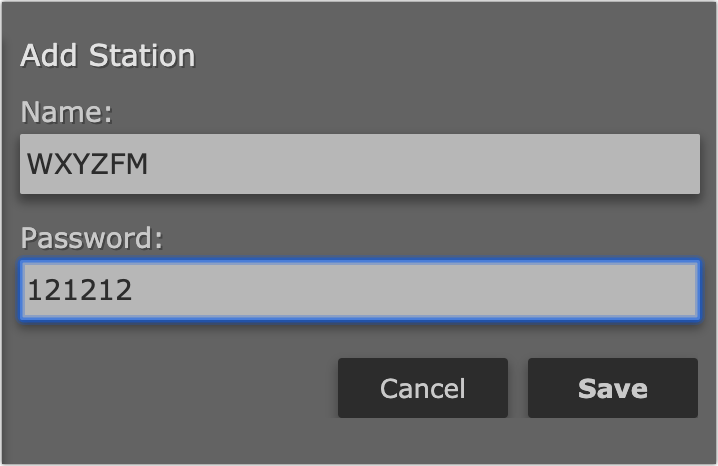
- Click Add
- Add the name for your station and the password as provided by Triton
- Click Save
If you receive an error pop-up that says;

You likely have one of two issues.
- Wrong credentials
- DNS that is not functioning
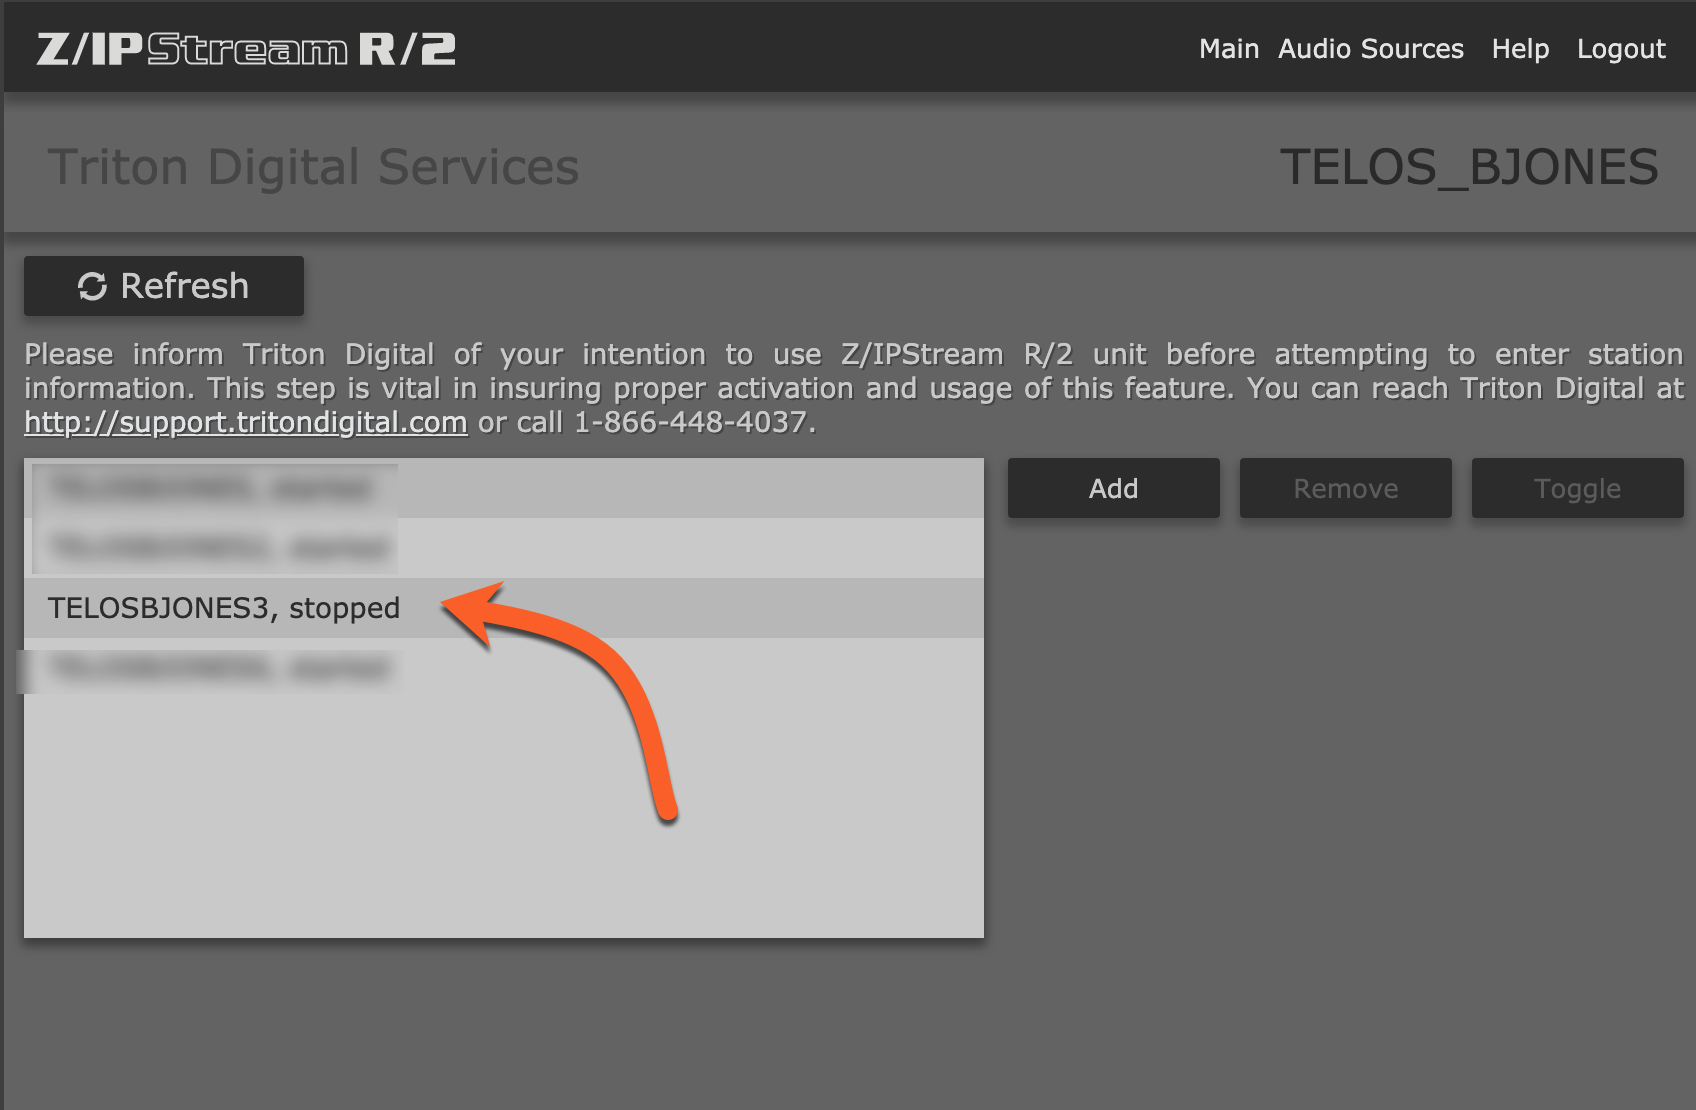
If everything is correct, you will see the station added to the list in the stopped state.
Selecting the audio source
Audio source selection requires the Triton encoder to be fully started first. If you are moving your station from an old system to this new platform, you will first need to STOP the other system and START the Z/IPStream R2 instance. This process requires SOME assistance from Triton. When changing platforms, Triton needs to be aware that your system will move from a Windows PC to the Z/IPStream R2. Notifying Triton allows them to provision their back-end system for this new connection properly.
To select the Audio source;
- Select your newly added Station from the list
- Click Start

The status should change from stopped to starting.
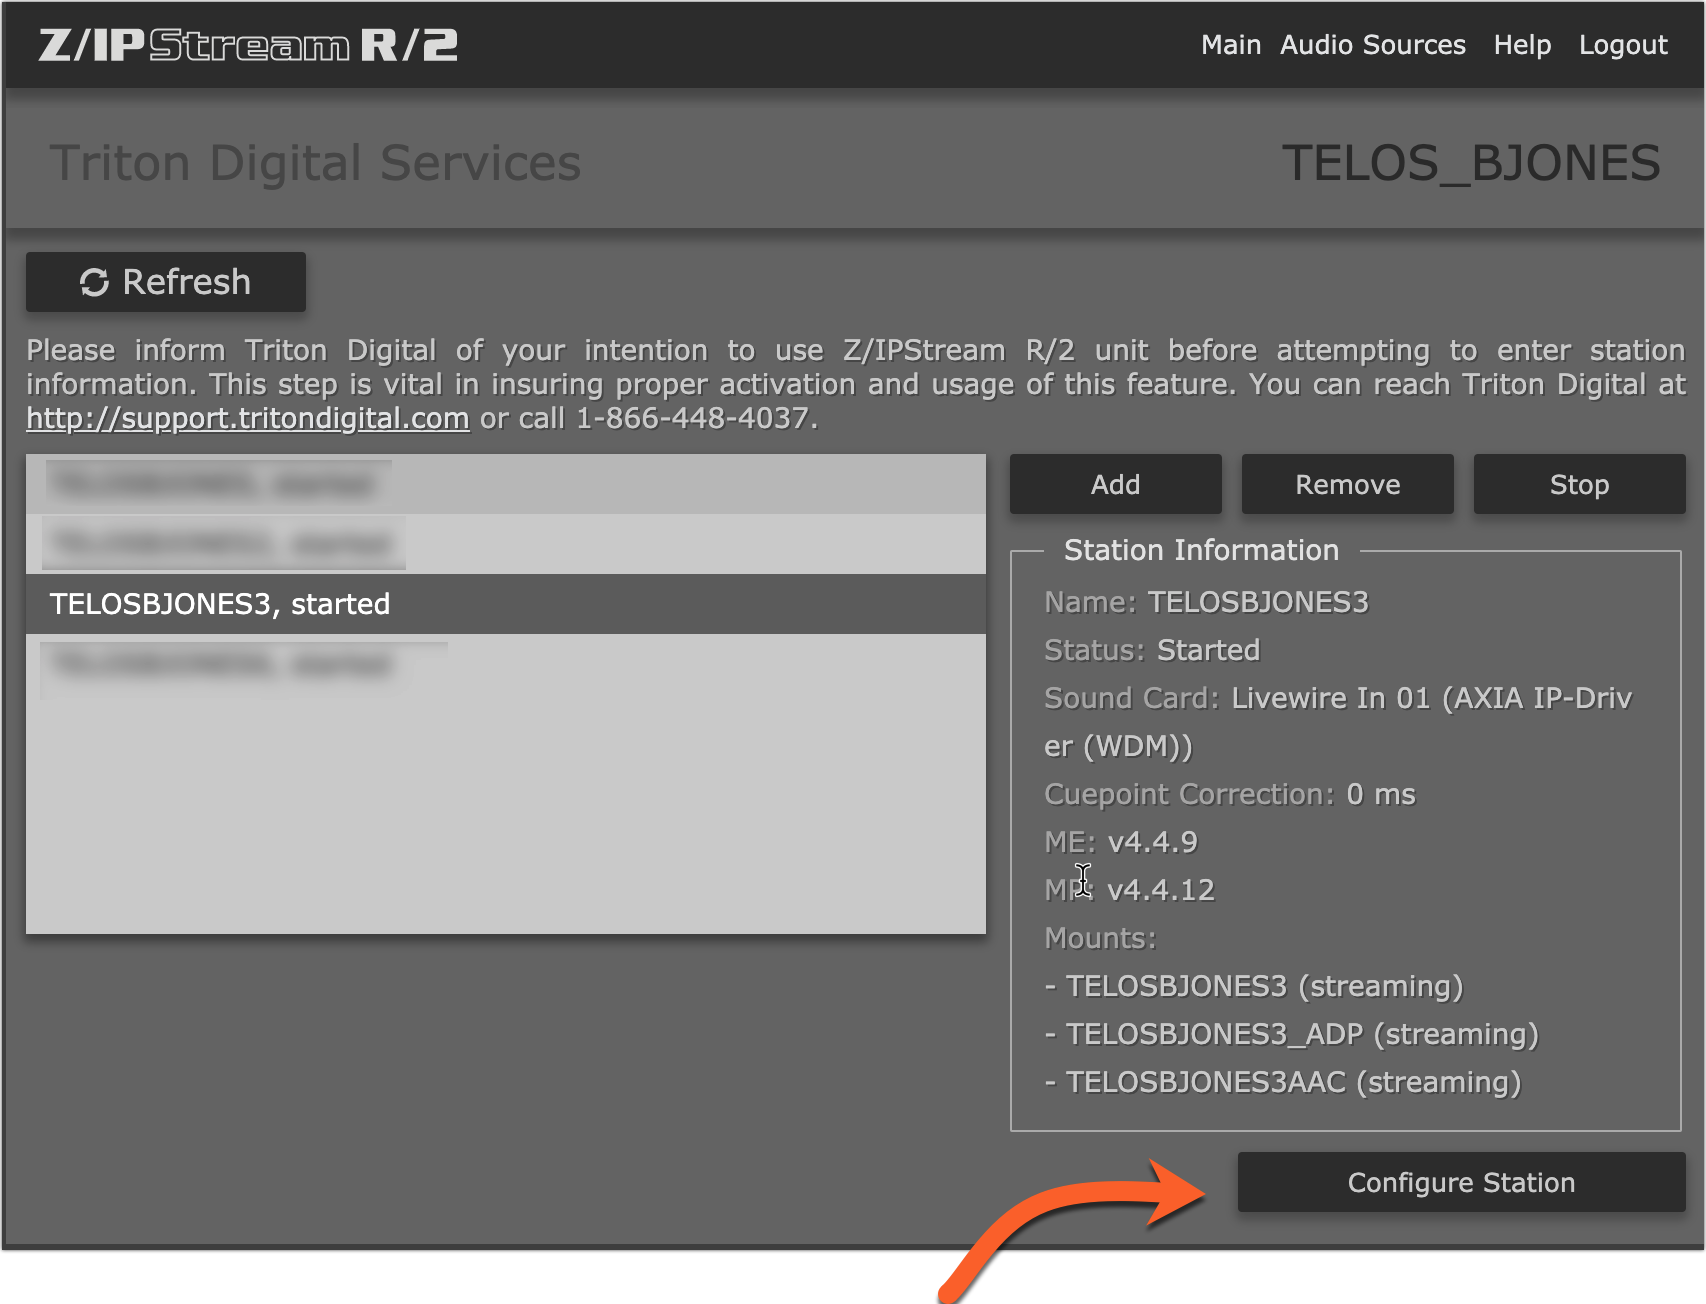
- After a short time, click the Refresh button. If everything is correct, your station should show started, and your mount points will show (streaming)
The screenshot below shows a properly configured and running station.
- Click on Configure Station
- From the drop-down list, select the correct Audio Device
- Click Save
Repeat these steps for any additional stations.
Let us know how we can help
If you have further questions on this topic or have ideas about how we can improve this document, please contact us.