Replacing Your Omnia.11 Touchscreen
 Updated
by
Johnny Goldsmith
Updated
by
Johnny Goldsmith
Scope
This document covers the process of replacing the touchscreen in your Omnia.11.
Removing the Screen
- After powering off the unit, remove the top cover.
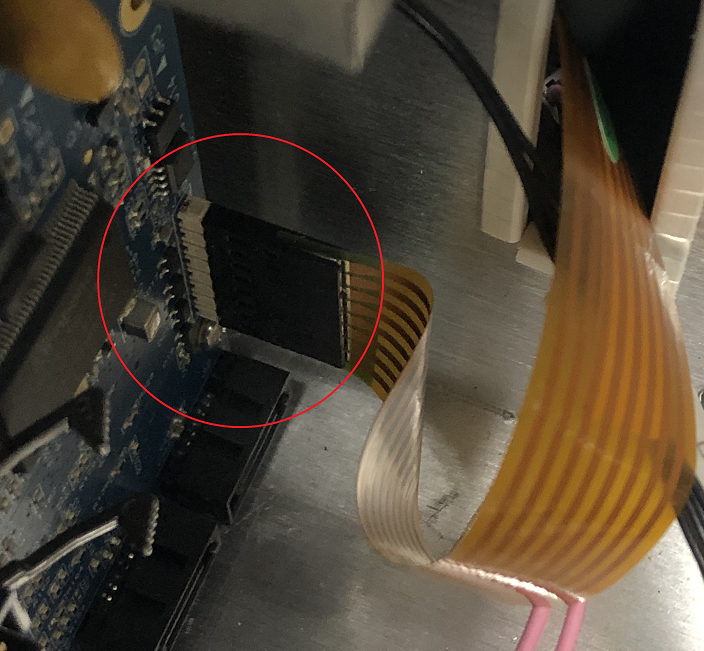
- Disconnect the touchscreen cable from the carrier board.
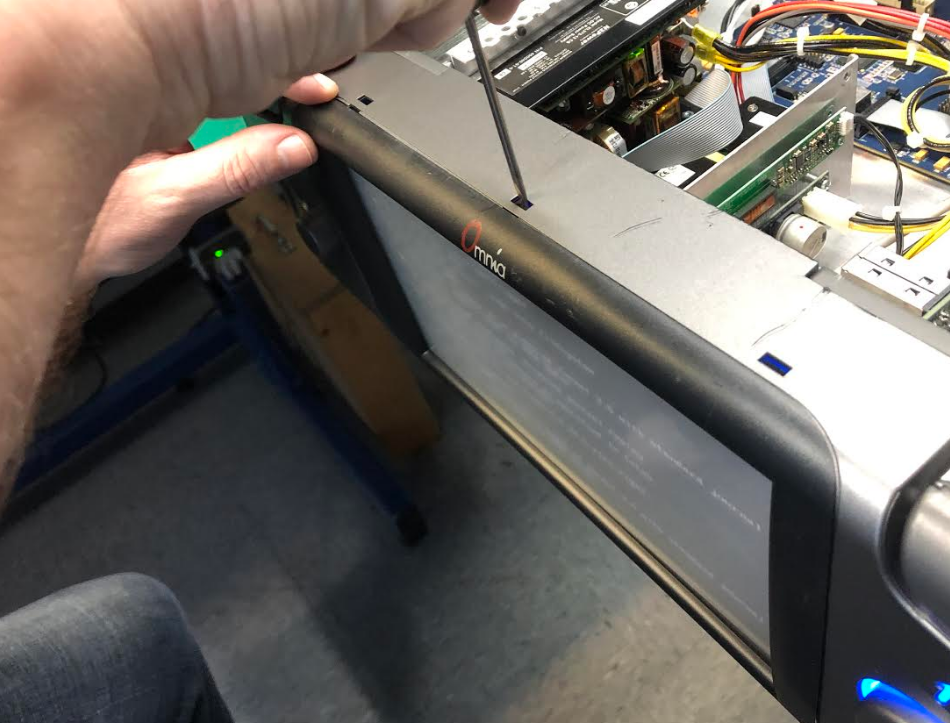
- On the front of the unit, remove the LCD bezel with a small screwdriver by pressing down on the top three tabs.
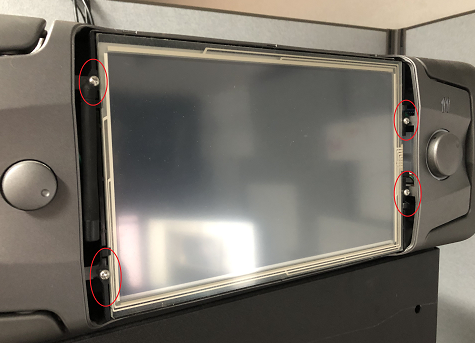
- Unscrew the four screws holding the screen in place.
- To remove the screen, you will have to gently pry it away from its case.
Installing the New Screen
To install the new screen, simply follow the above directions in reverse order.
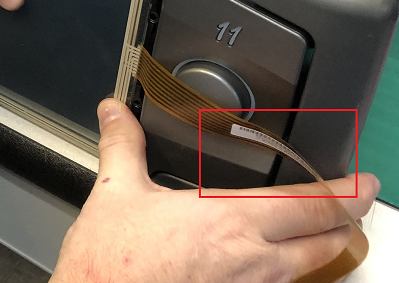
To ensure that you are installing the new screen in the proper direction, you will want the barcode side of the cable facing you when holding the screen up to the unit.
Once you have confirmed the correct positioning of the screen, you may have to use a pair of tweezers to grab the cable when fishing it through the front of the unit to the carrier board.
Once the screen is installed, power up the Omnia.11 and confirm the touchscreen works.
Let us know how we can help
If you have further questions on this topic or have ideas about improving this document, please contact us.