Creating a VirtualBox VM for Pathfinder CORE Pro
 Updated
by
Bryan Jones
Updated
by
Bryan Jones
SCOPE
This document is specific to creating a VirtualBox VM for Pathfinder CORE Pro software. This document is not an all-inclusive guide to setting up VirtualBox. It is simply provided as a guide and is provided without warranty or support. Proceed at your own risk.
DESCRIPTION
Installing Pathfinder CORE Pro on an Oracle VirtualBox VM. Virtual box and support for it can be found directly at the Oracle, Virtual Box website.
SETTING UP VIRTUAL BOX
Create the VM instance
- Open the VirtualBox Manager and click the New Icon.

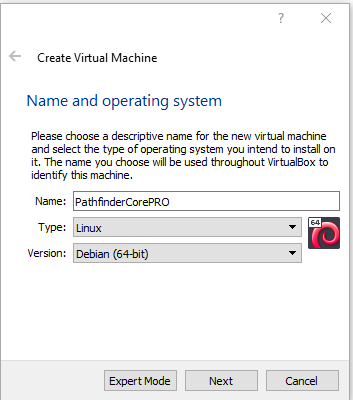
- Provide a name for your Core PRO VM instance
- Select Linux and Debian (64-bit) from the drop-down menus then click Next
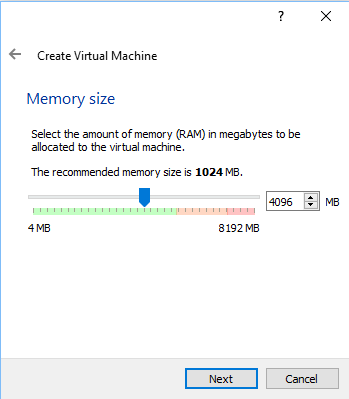
- Select the amount of ram you wish to give to the virtual machine then click Next.
- Select Create a virtual hard disk now and click Create.

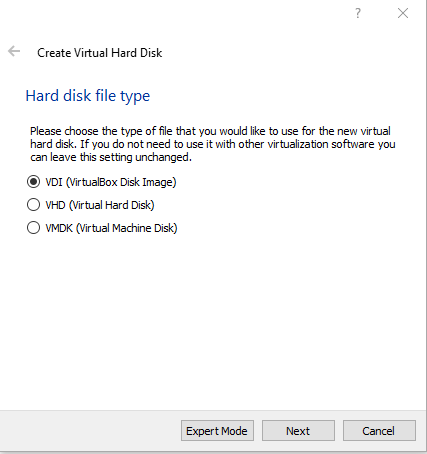
- Select the drive type and click Next.For this example, we are selecting VDI type, but you could pick VHD or VMDK as well.
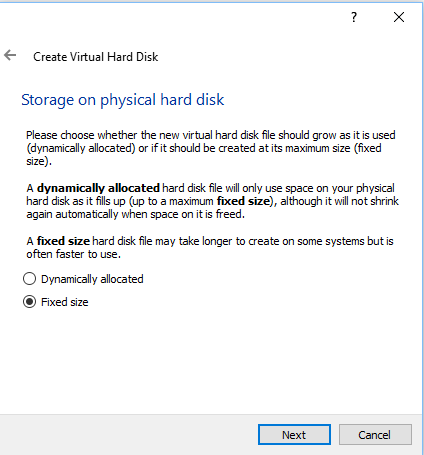
- Select how you want the data stored on disk then click Next.
- Dynamically allocated gives you better space utilization whereas
- Fixed size will be faster.
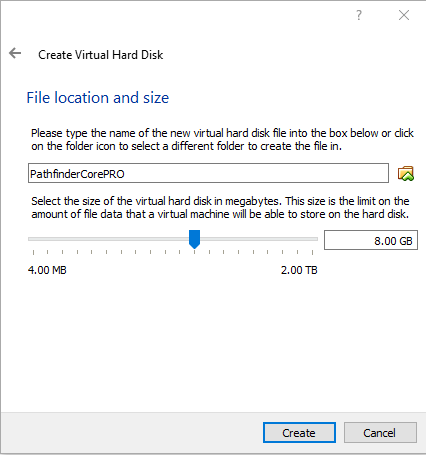
- Select where you want to store the drive data and select the drive size and click Create.
Change the settings for your VM Instance
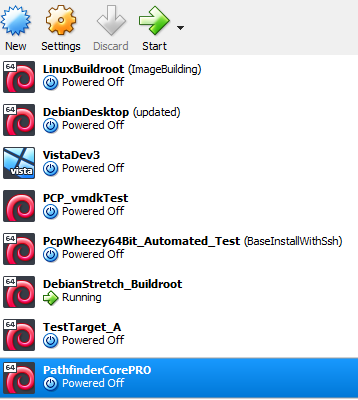
- Select the new virtual machine in the list and then click the Settings icon.
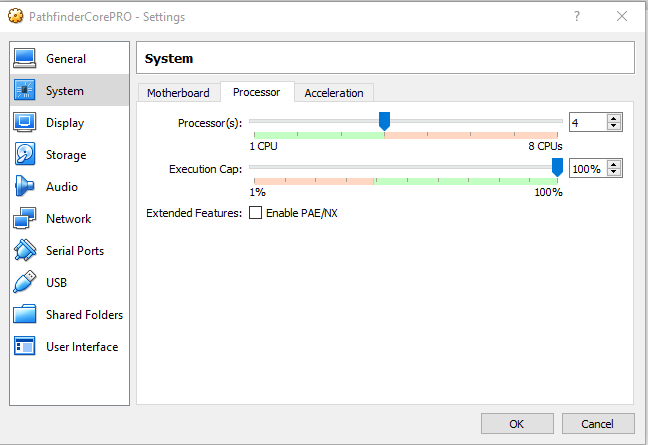
- Click the System menu, click the Processor tab, and select the number of processors to assign to your VM.
- Select the Network Menu item;
Make sure to select the Axia LAN from the drop-down of NICs in the host machine. If your host computer has network cards on both the Axia and office network, Add a second adapter and assign it to the office LAN.

Once all settings are correct, click OK.
- Select the Storage menu. Click on the Empty CD, and then click the little cd icon with the down arrow next to the Optical Drive attribute. Select the ISO image file which you downloaded from pathfinderpc.com.

- Click OK.
- Make sure the Virtual machine is highlighted in the list and click the Start icon.
- Continue to the document titled Installing the Pathfinder Core PRO VM ISO