Removing unused devices from Pathfinder PC Pro Server
 Updated
by
Bryan Jones
Updated
by
Bryan Jones
Scope
This document covers the removal of devices from the Windows version of Pathfinder Server and applies to both the PRO and non-Pro (PC) versions.
Description
You have devices in your Pathfinder database that are no longer present on your Livewire network. These still show up in routers and you want to remove them to clean them up. It also litters your log files with messages about being unable to connect. The solution is to remove them from the database.
Determining which devices are disconnected
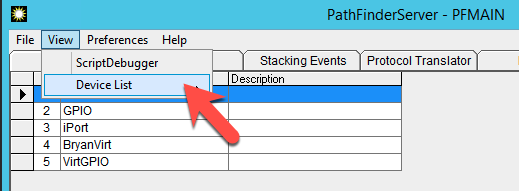
- Using the main Pathfinder server application, click on View in the menu across the top, then select Device List.
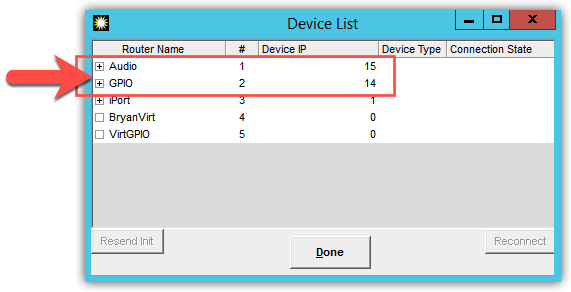
- From the Device List, press the + sign to expand your main Audio or GPIO router.
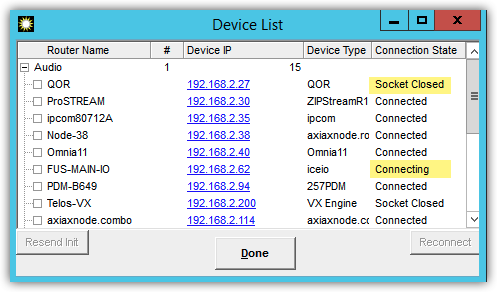
- Make a note of the name and IP Address of any devices that show Socket Closed or Connecting (noted in yellow in the image below). You will need this list for the next step.
- Repeat this for both your Audio and GPIO router.
Removing Devices from the Router
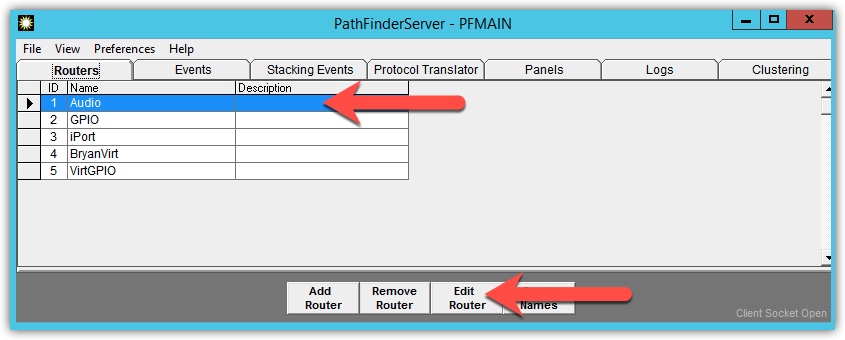
- On the Routers tab in Pathfinder Server, use your mouse and highlight the router from which to remove the device.
- Click on the Edit Router button.
- Click the button labeled Next on the "Select the Type of Router" window.
- Click Next on the "Name and Description" window.
The Livewire Terminals window will appear showing you a list of all Terminals (devices) currently in your database.
- Using the list created in the previous section, find the first device that you want to remove and select it.
- Click the button labeled Remove.
- Click the Yes button to confirm you want to remove the Terminal (device) from the system.
- Repeat this for all devices you want to remove.
- When complete, click the button labeled Next on the Terminal window. (The Passwords screen will appear)
- Click Next to have the system test the login access.
- Click Finish.
Repeat this process on any additional routers that have devices you want to remove.
Let us know how we can help
If you have further questions on this topic or have ideas about how we can improve this document, please contact us.