Axia IP Intercom: Using a Livewire source for the mic

Scope
This document shows you how to use a Livewire source (i.e.: a Host mic) as the microphone in the legacy Axia IP intercom units.
Description
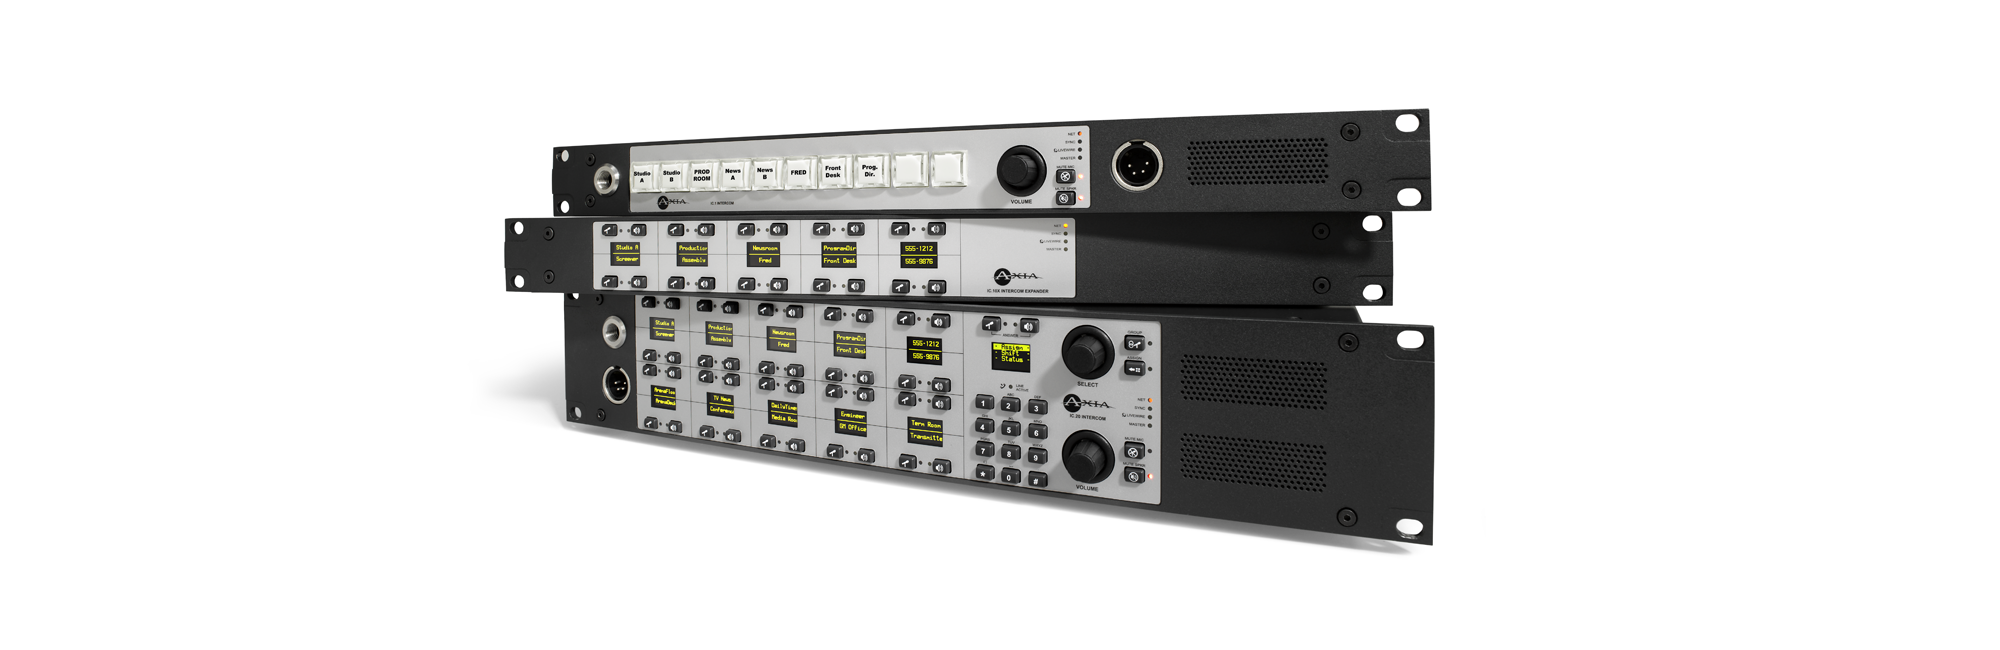
The legacy Axia IP Intercom units (shown below) do not come with an on-board microphone, and normally require either a gooseneck microphone, headset microphone, or other physically connected device in order to talk to other intercom units.
However, if you would simply prefer to use an existing microphone on your Livewire network (a Host mic for example), there is a way to configure the intercom to use that existing Livewire source as the microphone instead.
Setting this up is very simple, but must be done properly so as not to create a problem with duplicate Livewire channels on the network.
How to use an existing Livewire source
Follow the steps below in order to use an existing Livewire source on the network
- Identify the channel number of the Livewire source you will be using. For this example, we will be using our host microphone with Livewire channel 1234
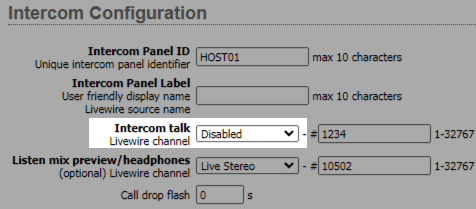
- Login to the intercom web interface, navigate to "Intercom" on the left, and enter the channel number of your Livewire source in the "Intercom talk" field
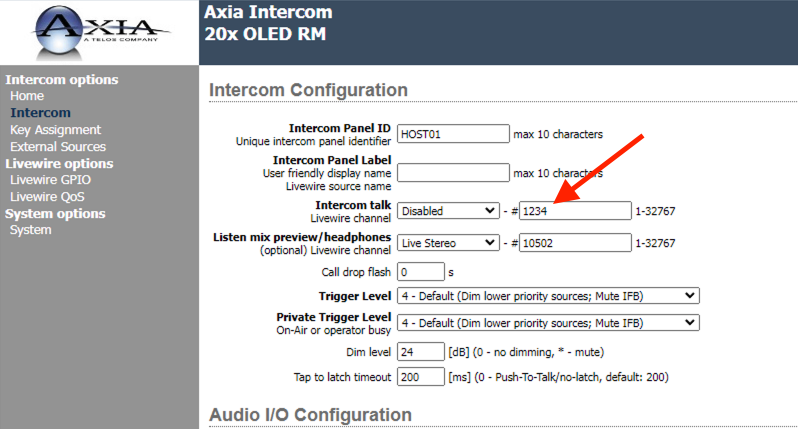
- VERY IMPORTANT: After you enter the Livewire channel number in this field, be sure to set the "Intercom talk" to "Disabled"
 CAUTION: Failing to disable the Intercom talk channel will create a duplicate Livewire stream, which means that your Host mic audio and the intercom will conflict. This results in no audio, "robotic" sounding audio, or other undesired behavior.
Why do I have to disable the "Intercom talk" field?
The "Normal" Process
The intercom units use Livewire channels to send audio back and forth, just like all other devices on a Livewire network.
When setting up an intercom with an attached microphone (gooseneck mic, headset, etc.), that microphone's audio is actually converted into a Livewire stream so that it can be sent to whatever device you're talking to (another intercom).
In this case, you would enable the "Intercom talk" feature (as a Live Stereo or Standard Stereo stream) and put a unique channel number in the field. This channel number would represent the audio from the microphone physically connected to the intercom.
The Backend
The sending intercom simply tells the other, receiving intercom what Livewire stream to listen to. If you've put "1234" in the "Intercom talk" field, then it will listen to channel 1234. If you put 5678 in, it will listen to that.
For example, your "HOST" intercom is setup with an "Intercom talk" channel of 9999. When you press a button on your "HOST" intercom to talk to the "TOC" intercom, you are actually telling the TOC intercom to receive Livewire channel 9999.
The Conflict
Putting a number in the "Intercom talk" field is required to talk to other intercoms. However, the problem occurs when you
(1) change the "Intercom talk" feature from "Disabled" to "Live Stereo" or "Standard Stereo," AND
(2) you are putting an EXISTING Livewire channel in that field.
Changing this from "Disabled" just told the intercom to generate a Livewire audio stream with that channel number, but if your Host mic is using that same Livewire channel number, they will conflict, and any intercom trying to "tune in" to that Livewire channel will begin receiving audio from 2 places at the same time, which will result in bad audio.
Let us know how we can help
If you have further questions on this topic or have ideas about improving this document, please contact us.