Removing / Replacing a Fusion Surface Module
Scope
This article describes how to remove or replace a Fusion console module. This can also be applied to Element as the hardware is very similar.
Step 1: Remove Retaining Screws
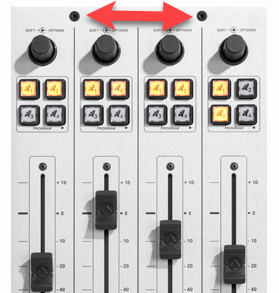
- Use the 2.5 mm hex wrench to remove the retaining screws at the top of the module requiring service:
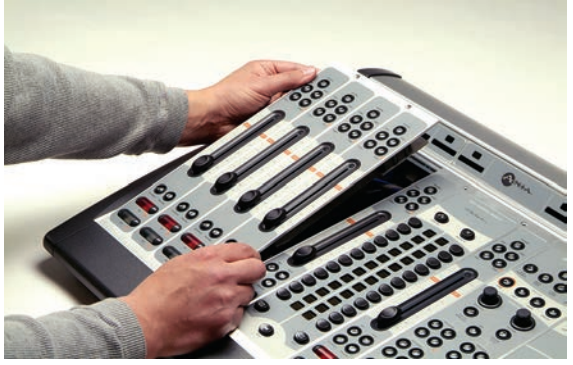
Step 2: Dismount the Module
- Lift the module at the top, tilting it upward, and pull the locating tab at the bottom of the module from the mounting channel.
Step 3: Disconnect Cabling
- Locate and disconnect the RJ45 patch cable(s) (-1- ) that connects the module to the Fusion's Interface board.
- Locate the ribbon cable that connects the module to its overbridge display (if present). Gently press the “ears” on each side of the board connector (-2-) to release the cable.
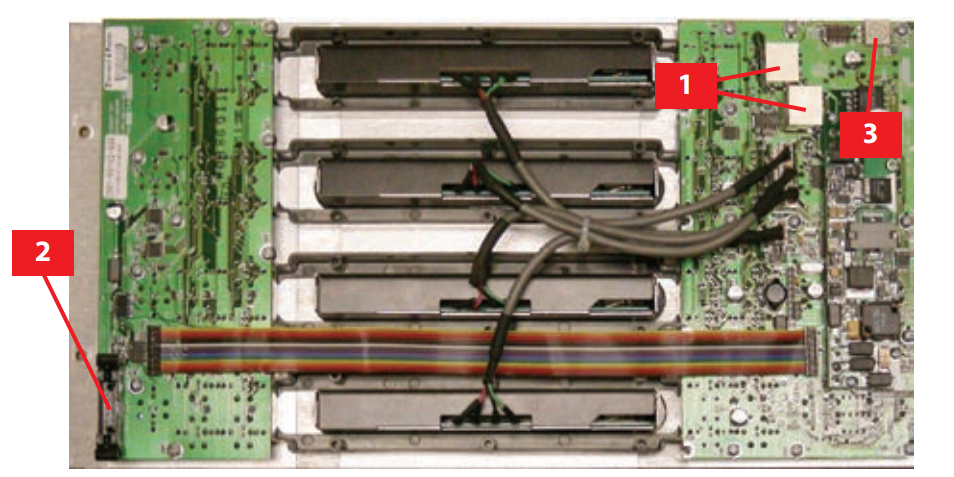
- Make note of the position of the CANBUS ID switch (-3-)
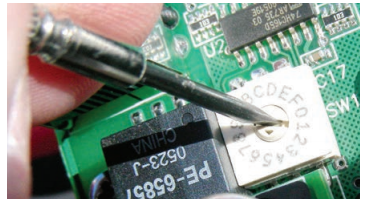
NOTE: Position F is reserved for a hardware Test Mode. Position 0 is reserved for the Master Module for the console. For more info about CANBUS IDs, click here.
Replace the module
- The module is replaced by performing the above steps in reverse.
- Be sure to set the CANBUS ID of the replacement module to the same value the old one had.
Overbridge Module Removal
This procedure can be found in this technote here.
Let us know how we can help
If you have further questions on this topic or have ideas about how we can improve this document, please contact us.