Replacement Round Caps for Element Modules
 Updated
by
Johnny Goldsmith
Updated
by
Johnny Goldsmith
Scope
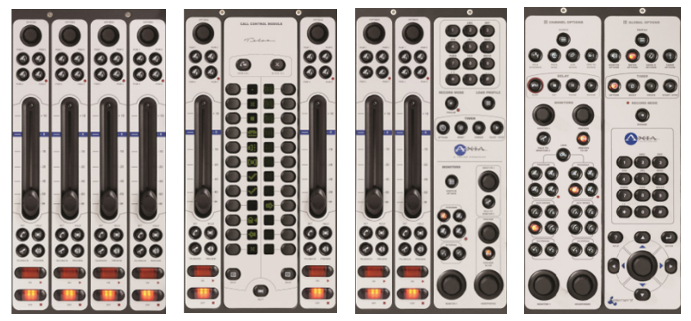
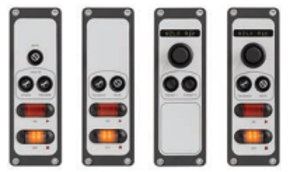
This document covers replacing the black round button icon caps on all Element modules, including Accessory modules.
If an oval cap on a Monitor or Phone Fader module needs to be replaced, click here.
Element Modules (both motorized and non-motorized):
Element Accessory Modules:
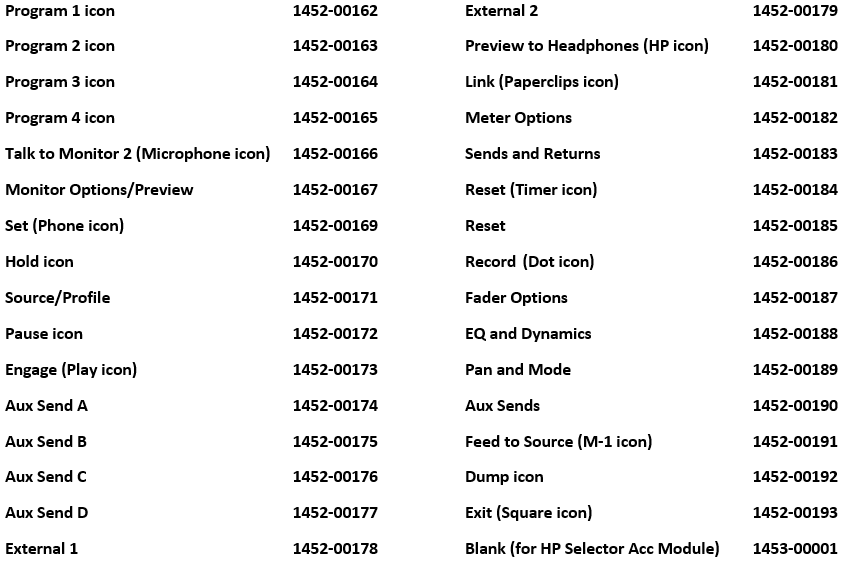
The Caps
Over time, the button caps can become cracked or broken from excessive (or aggressive) use. The good news is that they are field-replaceable.
The same button caps are used on all of the Element modules.
If a cap needs to be replaced, contact customer support and ask for pricing and availability using the below part numbers.
Gaining Access to the Caps
Unlike the Fusion and any QOR consoles, caps cannot be removed from the top of the console surface. To remove the switch cover from a switch, the main board that has the switch has to be detached from the back of the module.
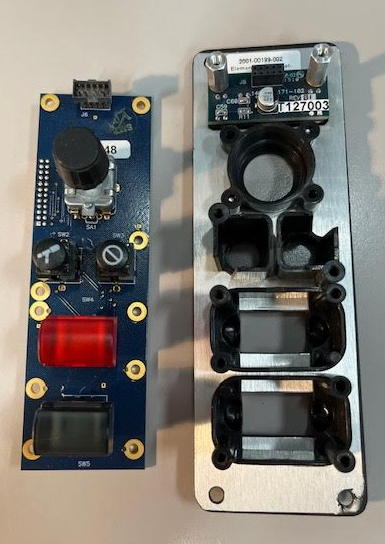
The module needs to be removed from the console, disconnecting the ribbon cable going to the overbridge OLED.
If a switch is being replaced on a Monitor/Navigation Module, there is also a ribbon cable that has to be detached that connects the mainboard to the encoder board.

If a switch is being replaced on a module with faders, each fader cable needs to be detached from the main board.
If the module is a motorized module, there will be one additional cable per fader that will need to be detached.
Depending on the type of module, there are a number of screws that need to be removed to expose the top of the mainboard.
There are also some Accessory Modules have two boards stacked on top of each other, where both boards have to be removed.
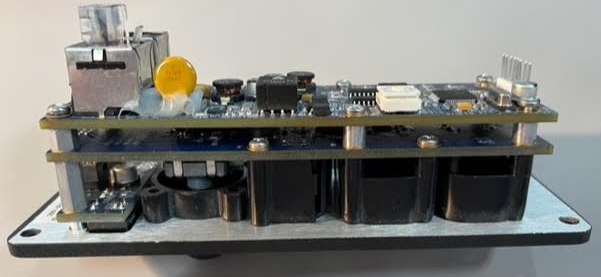
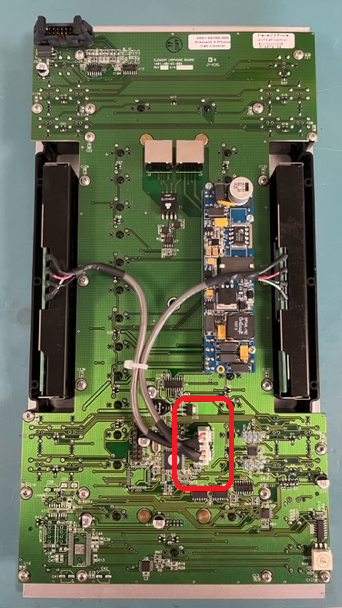
Once the mainboard is separated from the face of the module, the mainboard can be positioned to expose the switches.
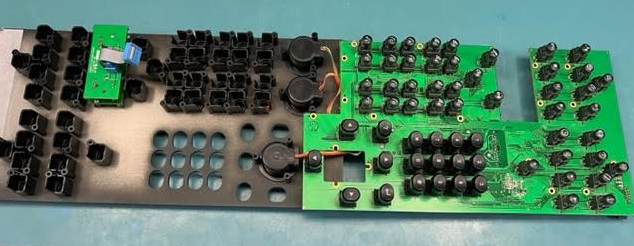
Any cap that needs to be removed can simply be pulled from the switch.
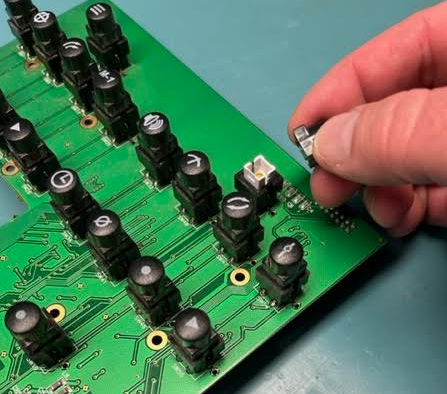
The replacement cap can easily be snapped back onto the switch. Make sure the icon has the correct orientation.
Once the switch caps are replaced, the mainboards can be put back into place and secured using the same screws used to remove them. Remember to re-attach any ribbon or fader cables that were disconnected, specifically attaching the fader cables to their proper position on the mainboard.
Let us know how we can help
If you have further questions on this topic or have ideas about how we can improve this document, please contact us.