Replacing the LCD display screen on your Zephyr Xstream
 Updated
by
Johnny Goldsmith
Updated
by
Johnny Goldsmith
Scope
This document covers the removal and installation of the LCD display for all Zephyr Xstream units.
Replacing the LCD Display
If the display of your Xstream needs to be replaced, contact customer support and ask for pricing and availability of part # 1171-00004-100.
To remove the display, you will need to follow the steps below. Keep in mind that you will be reinstalling all boards and components in the opposite order of how you are removing them. You will want to keep each section organized with the proper screws and washers.
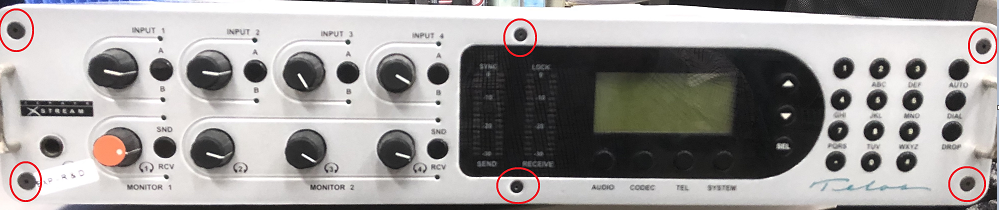
- Remove the front panel by taking out the six screws with a hex key.
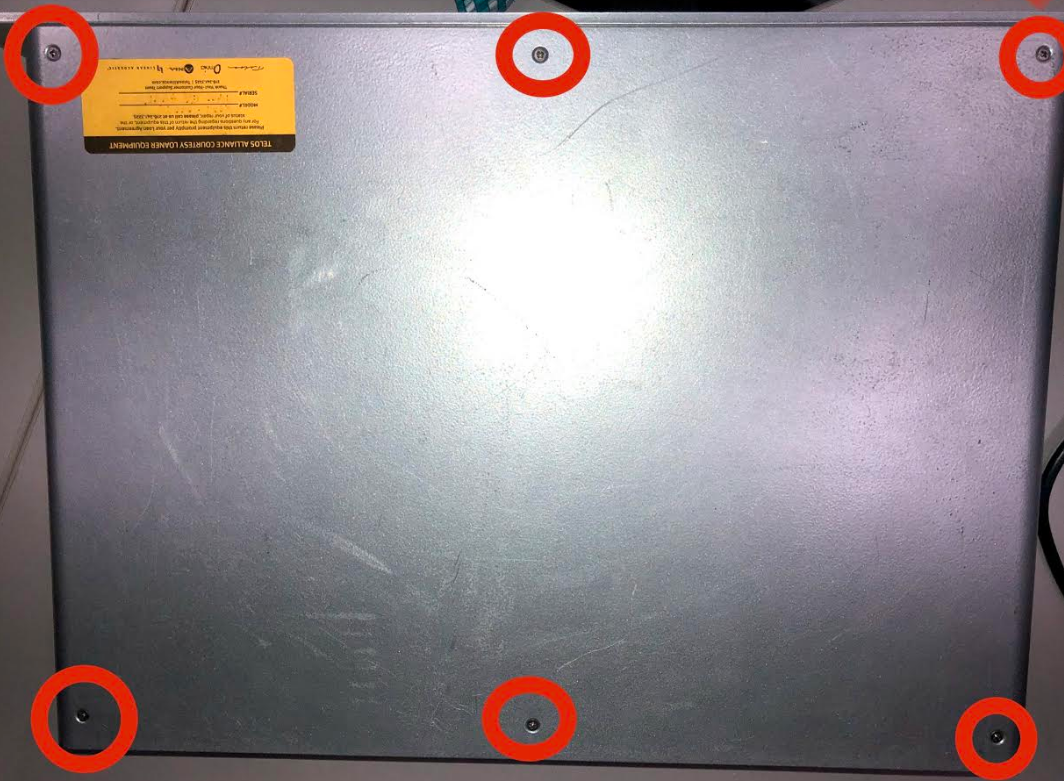
- Remove the top cover of the Zephyr by removing the six Phillips screws.
- Remove the lid, exposing the back of the display board. Depending on the age of your unit, there might also be a small "Dragonball" CPU board attached as shown below:
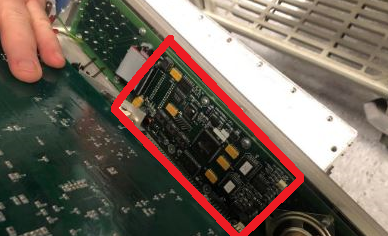
- If this board is not attached to the display board, unplug the ribbon cable coming from the mainboard and proceed to Step 7. If this board is present, first remove the four screws holding the smaller board to the display board.
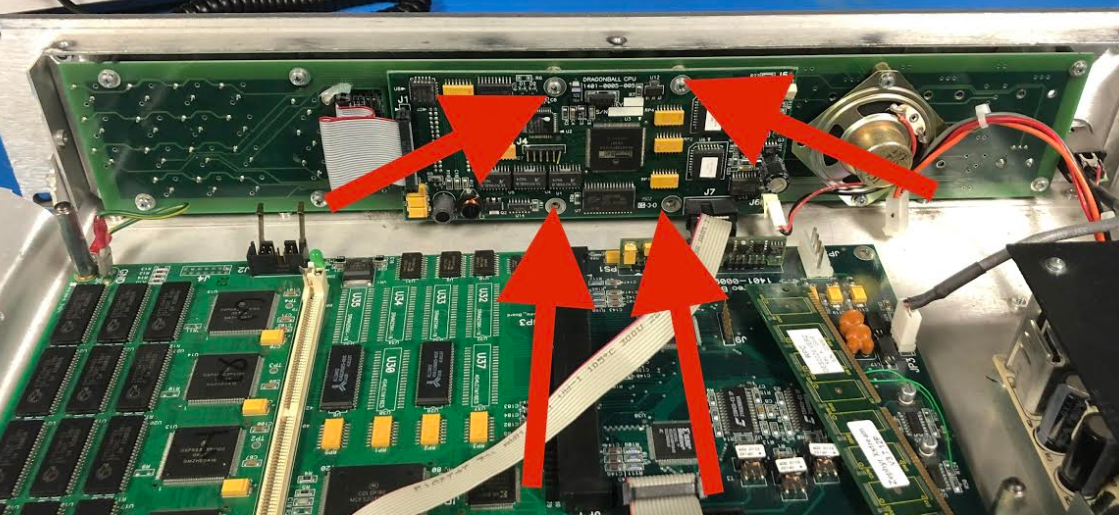
- You will also have to disconnect three connections from the mainboard, which will allow you to remove the "Dragonball" board:

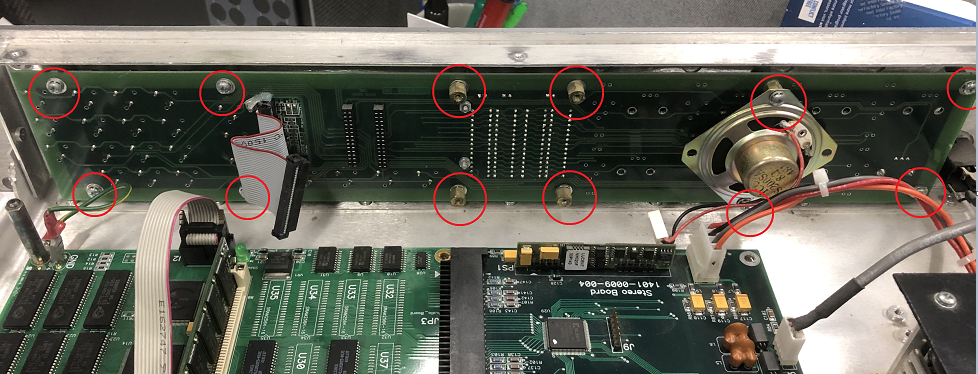
- This will expose the full back of the display board. Unscrew the 12 Phillips screws to separate it from the front sub-panel frame.
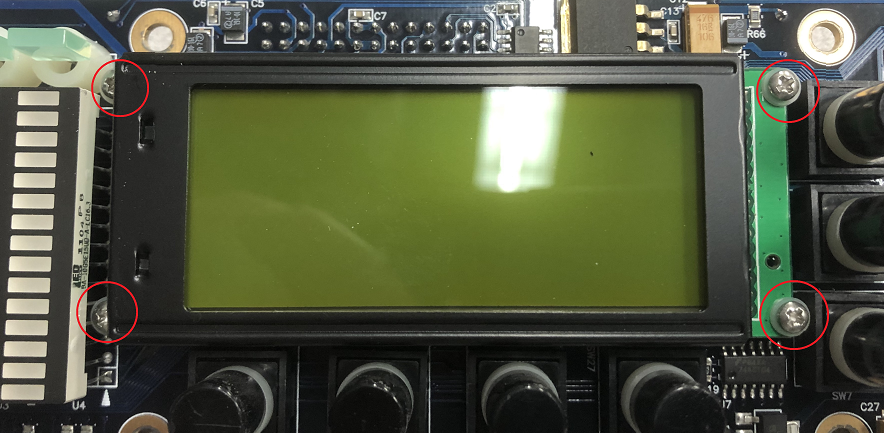
- Unscrew the LCD display from the front of the display board by removing the four Phillips screws.
- Pull the display out of the 15-pin connection of the display board.
Installing the New Display
After installing the display into the 15-pin connector of the display board, you need to do the above in reverse order. Be sure to use all screws and washers and re-attach all ribbon cables and connectors.
Let us know how we can help
If you have further questions on this topic or have ideas about improving this document, please contact us.