Test Mode for Axia IP Intercom Panels
 Updated
by
Johnny Goldsmith
Updated
by
Johnny Goldsmith
Scope
This article explains how to use test mode for the Axia IP Intercom panels, which includes:
- 2001-20259 IC.20 20-Station Intercom Panel
- 2001-20257 IC.10X 10-Station Intercom Expander
- 2001-20258 IC.10 10-Station Intercom Panel
- 2001-20256 IC.1 10-Station Intercom Panel
- 2001-00271 IC.20 20-Station Intercom Desktop Panel
Accessing Test Mode
Axia intercom stations have a test mode that tests the displays and buttons and provides an option to adjust the brightness.
With power applied, press and hold the ID button on the rear of the unit for 10 seconds.
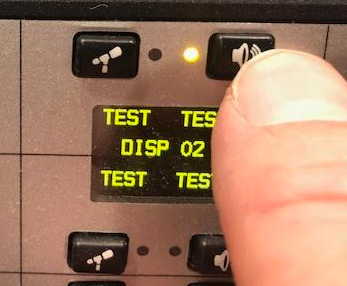
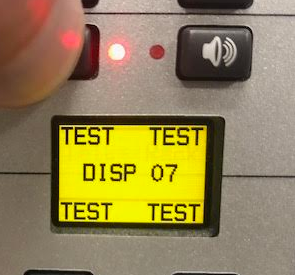
When in test mode, the four status LEDs (NET, SYNC, Livewire, Master) will scroll in sequence.
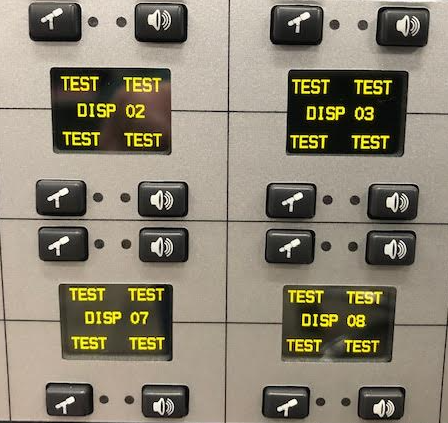
OLED displays will show TEST along with their corresponding display number.
Pressing a button will illuminate the LED associated with the button.
Pressing the microphone button will light up the button LED as well as the OLED.
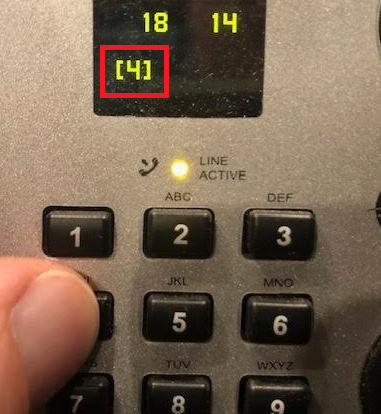
Pressing a numerical button will light up the Line Active LED and display the number of the button being pushed.
Pressing a button on filmcap models will engage the LED for the button. Each additional press will change the color of the light.
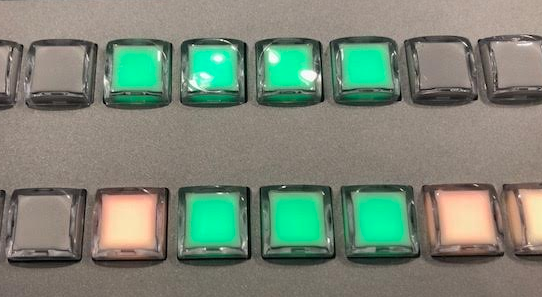
Rotating the encoders on OLED models will display numerical values on the OLED. For filmcap models, the buttons should be illuminated and rotating the knob will change the brightness of the buttons.
To exit test mode, press the ID button once on the rear panel.
Let us know how we can help
If you have further questions on this topic or have ideas about improving this document, please contact us.