Bios settings for Asus N4L-VM DH for Axia Studio Engine
 Updated
by
Bryan Jones
Updated
by
Bryan Jones
SCOPE
This applies to the original "fanned" style Axia Engines.
REPLACING THE BATTERY
The BIOS battery needs to be replaced, and the BIOS needs to be re-programmed.
- Remove the cover from the unit’s lid.
- Plugging in a keyboard and monitor directly to the motherboard.
- Replace the CR2032 battery.
- Power on the unit.
POWER ON THE UNIT
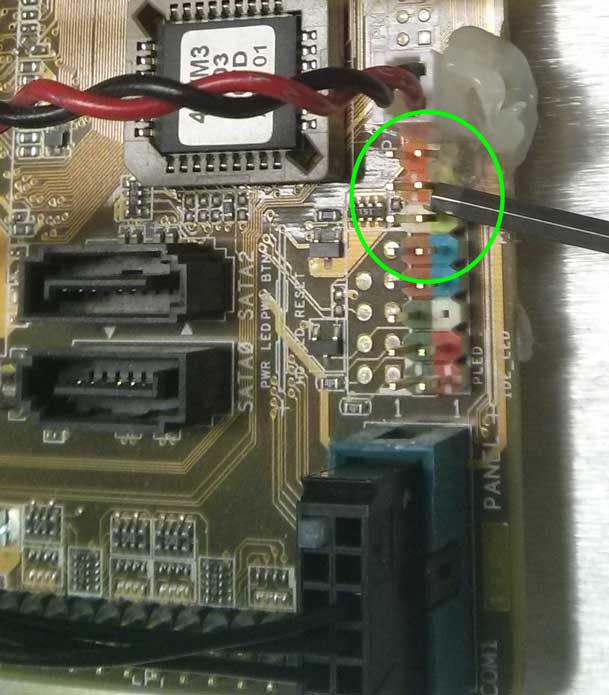
Once the battery has been replaced, the BIOS setting will have reset to their factory defaults. This includes the power options. The Defaults are to do nothing when power is applied, therefore, you will need to manually short the power pins to power the unit.
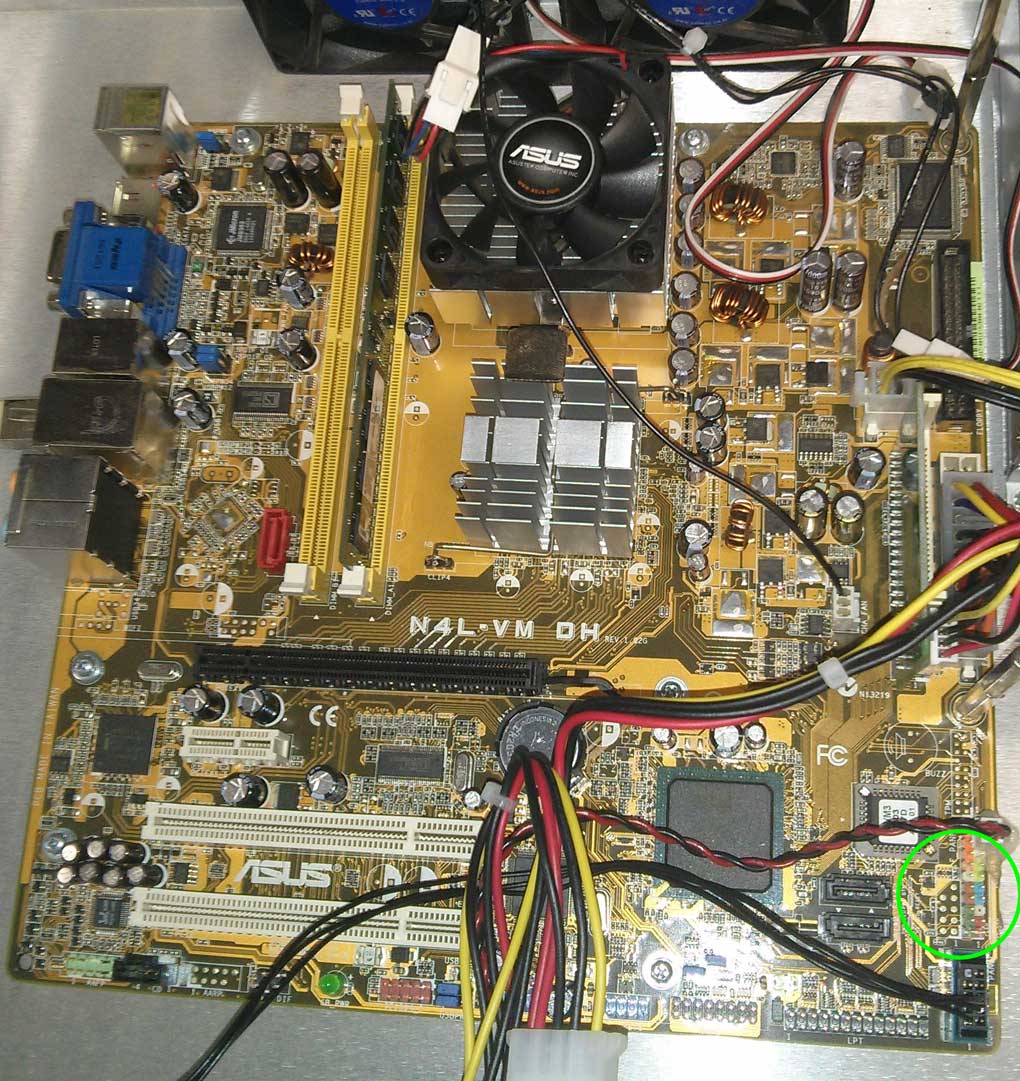
Light Green header pins below the Reset cables.
CHANGE BIOS SETTINGS
-
Main
- IDE Configuration
- Legacy Diskette: [Disabled]
- IDE Configuration
-
Advanced
- South Bridge Configuration:
- Audio Controller: [Disabled]
- Onboard Devices Configuration
- Onboard 1394 Controller: [Disabled]
- USB Configuration
- USB Functions: [Disabled]
- BIOS EHCI Hand-Off: [Disabled]
- South Bridge Configuration:
-
Power
- APM Configuration:
- Restore on AC Power Loss: [Power On]
- Hardware Monitor:
- CPU Q-Fan Control: [Enabled]
- CPU FAN PROFILE MODE: [Silent Mode]
- APM Configuration:
-
Boot
- Boot Device Priority:
- 1st Boot Device: [HDD: ………..]
- 2nd Boot Device: [Disabled]
- Boot Settings Configuration:
- Wait For ‘F1’ If Error: [Disabled]
- Boot Device Priority:
Detection and Prevention
It is safe to hot-swap the CR2032 battery by lifting the lid and replacing it while the unit is powered. This precludes the need to plug in a keyboard and monitor and reset BIOS configurations.
The CR2032 battery should be good for 3-5 years, so periodic maintenance every 2-3 years should suffice for routine maintenance. Schedule a unit shutdown test to verify as a part of the periodic maintenance regiment.