TCP Dump from VX Enterprise or Prime Plus
Scope
This procedure applies only to VX Enterprise and VX Prime Plus units and does not include Legacy VX and VX Prime (fanless engine).
This procedure involves 3rd party software. Even though the software we mention is free and available, Telos Alliance can neither take responsibility for nor provide support for it in any way.
Capture Data
This section requires a TTY / terminal emulator program of some sort. Here, we will be using PuTTY.
- If you do not already have it installed, download, install, and open PuTTY.
- Connect via SSH to the VX's IP address using port 22. Say Yes to any authentication/security questions.
- Root credentials are required. Please contact Telos if this information is required and then log in.
User name: root
Password:
- Begin the packet trace by typing the following command. (See variables in red below)
tcpdump -i eth0 -w filename.pcap
eth0 is the VX's WAN port. eth1 is the VX's LAN Port. Use the variable that suits the requirements for your test. Replace "filename" with an appropriate name of your choosing for the *pcap trace file. The system will create filename.pcap and begin writing to it as soon as you press Enter.
- Recreate the issue: (place test call, or reattempt registration by loading a VX Show into a Studio)
- As soon as the issue has been replicated and recorded, press Ctrl + C to stop the packet capture.
The resulting *.pcap file will be saved to the command line's current directory. To find out what directory that is, type pwd into the command line and press Enter.
Retrieve data from VX File System
The capture file now needs to be moved from the VX's file system to your PC.
- If you do not already have it installed, download, install and open WinSCP.
- Enter the correct parameters for the new session:
File protocol: SCP
Host name: the IP address of your VX
Port number: 22
User name: root
Password: (previously provided)
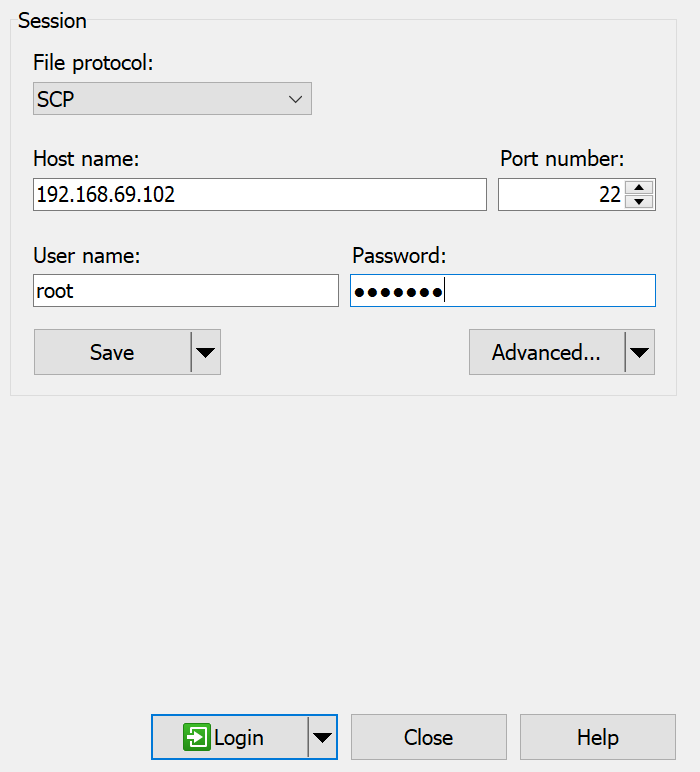
- Click Login, and say Yes to any prompts about trusting an unknown host, etc. You are now logged in to the VX filesystem (right pane). You can also see your computer's file system (left pane).
Please do not attempt to make changes to system files. Any changes made can have unexpected results and may require factory service to resolve. Issues resulting from changes made outside of those specified here are not covered by warranty.
- Use the WinSCP interface to navigate to the directory that houses the *.pcap file from the steps prior.
- Move the *.pcap file from the VX to a directory on your PC.
Close Client Connections
At this point, you have recorded and retrieved a packet capture of data present on the Ethernet interface of your choosing. Once you have found the capture file on your PC, please close out of WinSCP and PuTTY confirming disconnections if prompted.
Remember that it's not very responsible to leave these types of connections open/unattended. Sometimes, all it takes is one keystroke to cause system corruption.
Let us know how we can help
If you have further questions on this topic or have ideas about improving this document, please contact us.